“Usually I’ll just eat popcorn, but if theaters would sell me goat cheese and garlic with Triscuit crackers, I’d give them all my money.
”
I milk a virgin goat. You heard that right. She has never made sexy times with a billy, but every spring her udder fills with milk. The condition is know as “precocious udder”. It happens in goats with infections, but only one side will fill. In the case of Peaches, it happens in strong milk lines. She’s just bred to make milk, and lack of a pregnancy isn't going to stop her. The milk is lovely, as goat milk goes, but she does not produce at the rate that she would after a birth. She ends up giving about a quart per day. After a few months, she dries up. In the time that she’s in milk, I make a years worth of feta, and several batches of chèvre.
The reason we have a goat is because of my lovely wife. She was once given a baby goat by a patient at the cardiology clinic she used to run. Her previous husband rejected it, based on little hoof prints on car hoods. When we moved on to our farm, that was the main thing she wanted. I asked around, and found some friends with baby goats. I traded bacon making lessons for her, three years ago.
Managing a goat, on a small homestead, is tricky. I can’t let her graze with the cow, because she will strip every leaf off of my young trees. Goats are notoriously hard to contain, too. It has been said that any fence that will hold water will hold a goat. That’s pretty accurate. She spends most of her time in the corral that is fenced with cattle panels. The holes are just large enough for her to get her face and horns through, but the reverse move is impossible. If you follow me on Instagram (@radicalgastronomy), you have likely seen a few videos of the goat stuck in the fence. All of that aside, she is really the sweetest animal on the farm. She’s super affectionate, and gentle. Being a goat, she’s also quite comical. She is a breeze to milk, and hops up on the milking stand without hesitation. As goats go, she’s a special one.
If you rushed right out and bought yourself some MM100 mesophilic culture to make cultured butter, from my previous post, all you need to find to make chèvre is some animal rennet. This soft, young cheese is quite simple to make, and a great jumping off point into cheese making. It requires no cheese press, molds, cave, or wax. Its ready to eat in 24 hours, and has many uses. You can coat the outside with anything you want. Cracked pepper or herbs are common, but it’s up to you. Chipotle and cilantro would be nice, or edible flowers, as one of these photos shows. The flavor is mild, and chèvre made from very fresh milk is even suitable for cheese cake. Special tools you will want are an accurate thermometer, some fine cheese cloth, or butter muslin (tea towels, tee shirts, and flour sacks work, too), and a slotted spoon. If you have been wanting to start making cheese, try this. If you do this with cows milk, you will make quark, which is the original cheese cake cheese. It will stand in for cream cheese, in most cases. These fresh cheeses are best eaten within the week of making, so call your cheesy friends over!


Ingredients:
1 gallon of raw, non homogenized goat’s milk
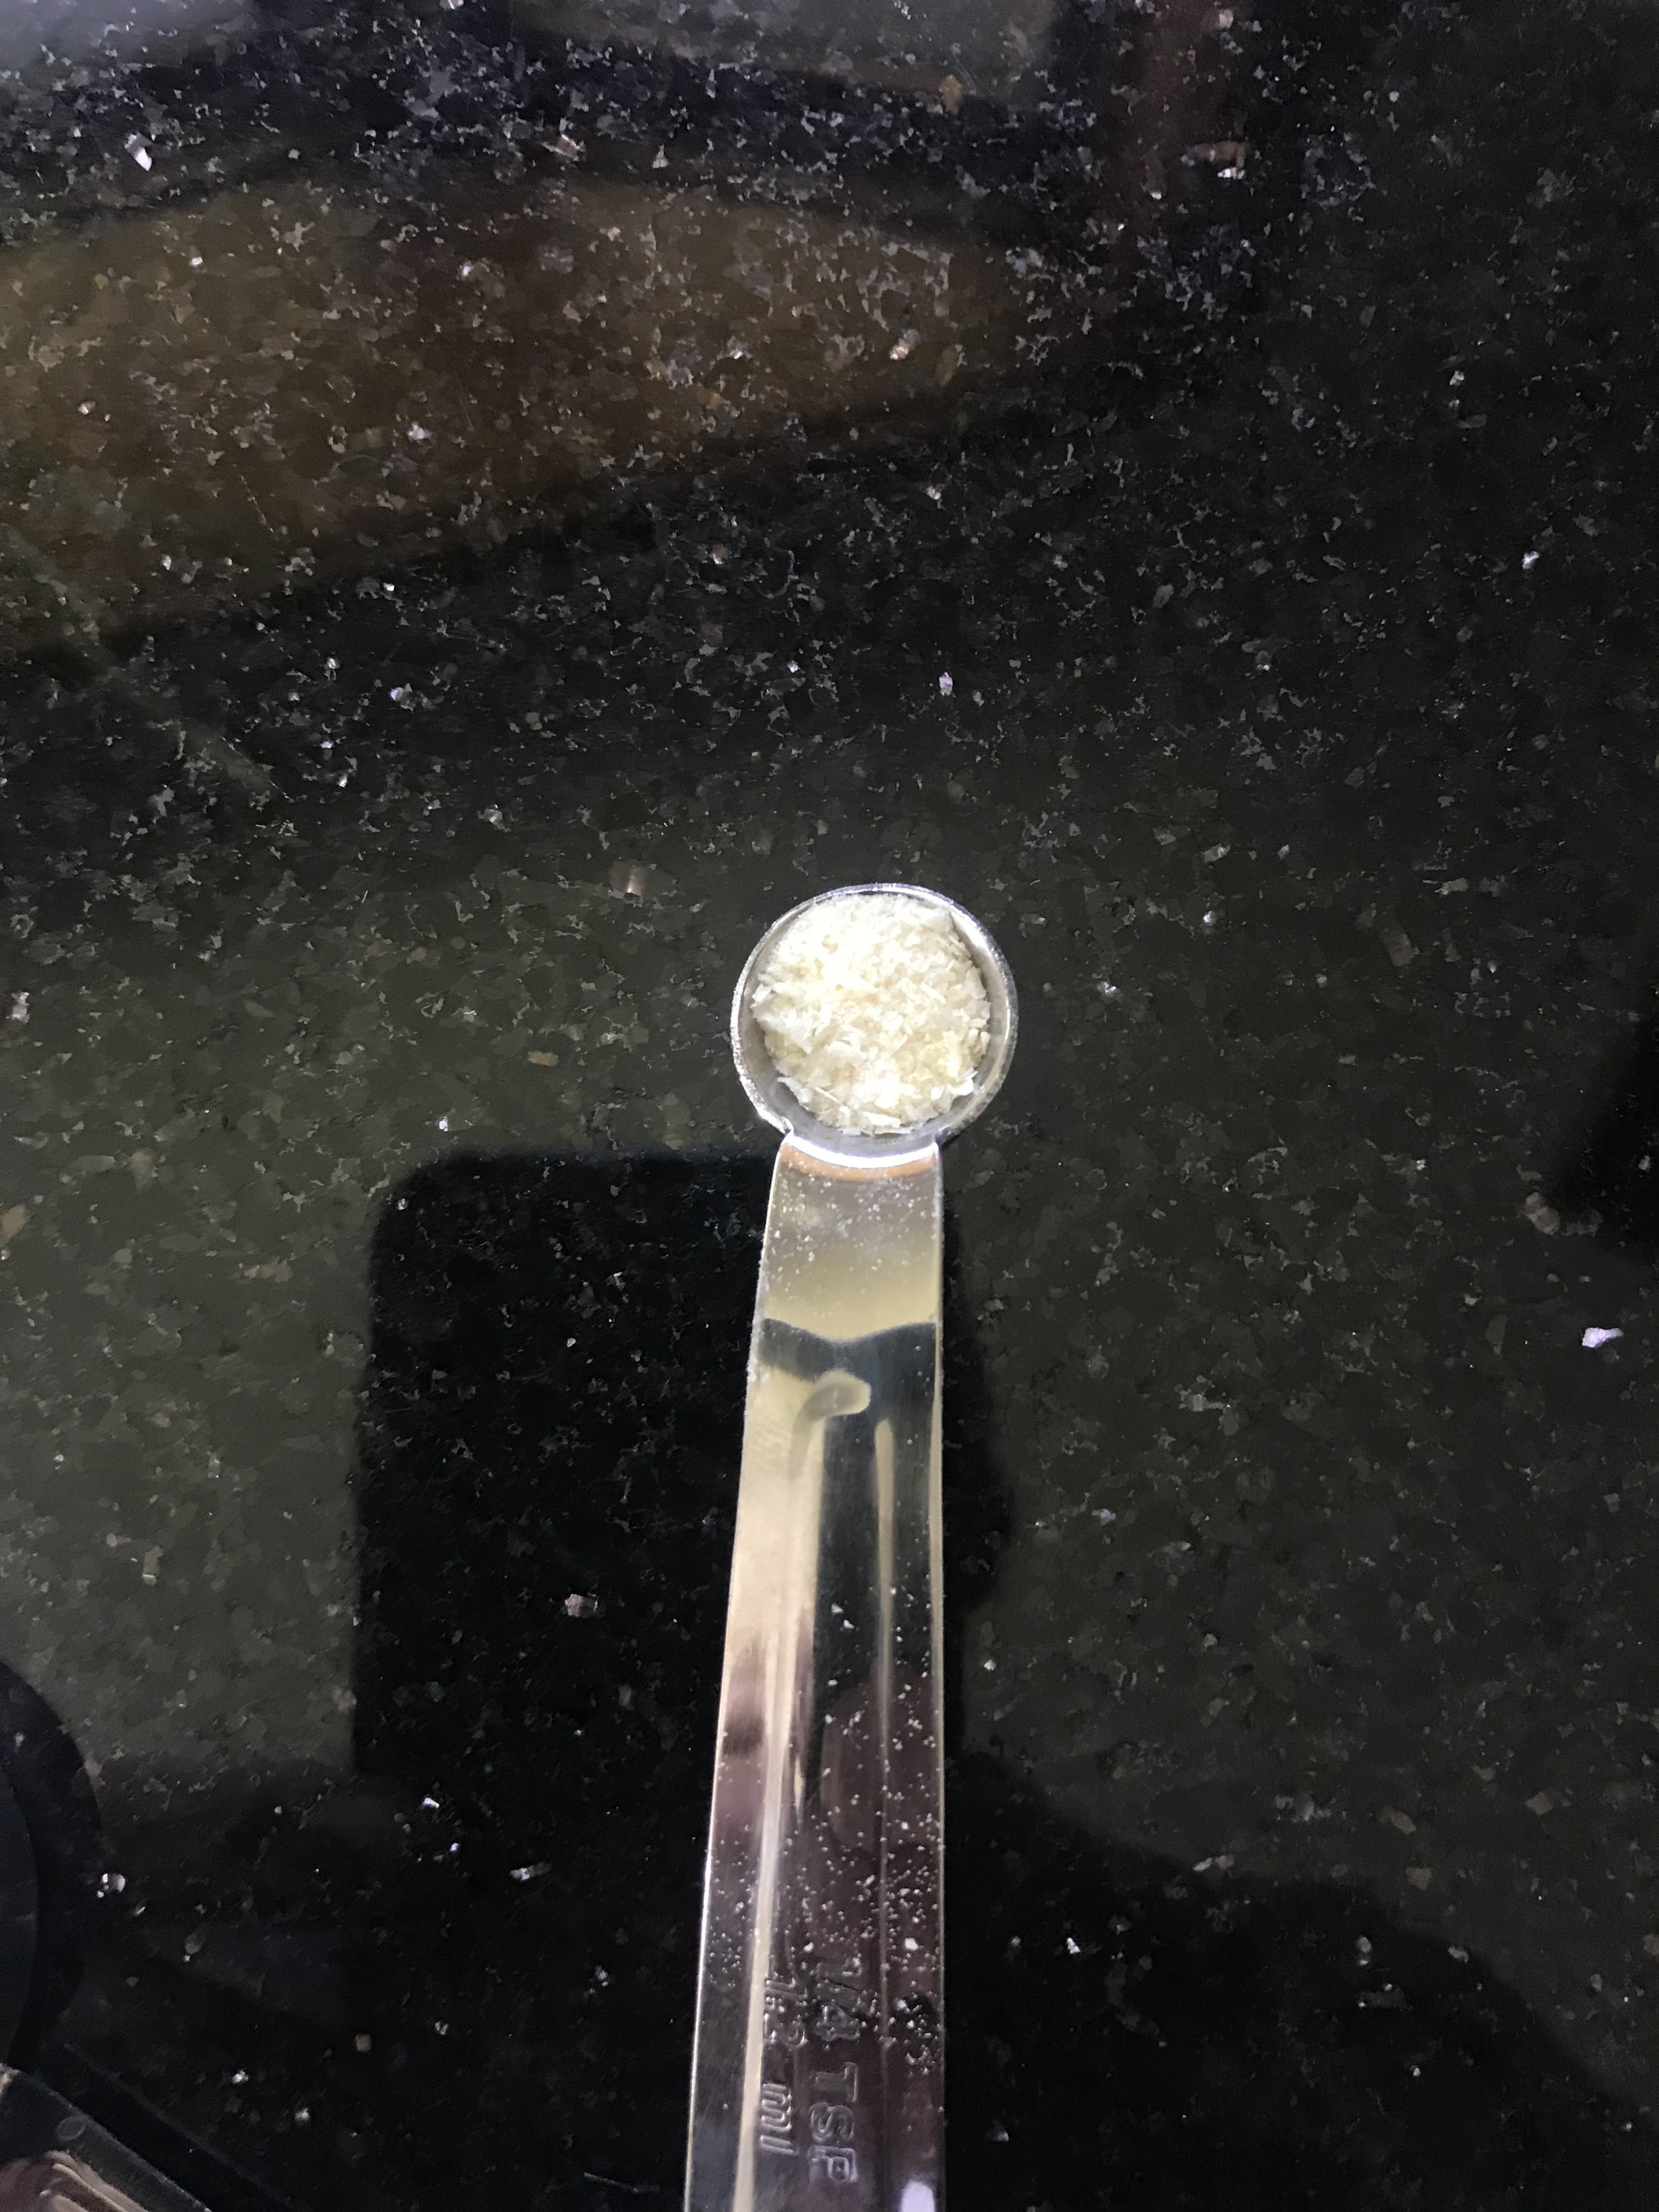
1/8 teaspoon mesophilic cheese culture
2 drops liquid animal rennet disolved in
¼ cup non chlorinated water
1 teaspoon non iodized salt
Equiptment:
Large, non-reactive (stainless steal, or enamel) pot
Slotted spoon
Colander
Cheese cloth
Twine
Large bowl
Thermometer
Directions:
Clean all equipment and sterilize by adding a quart of water to the pot and steaming everything that will come in contact with the cheese (the spoon and the cheese cloth, primarily). The probe on the thermometer can be wiped with distilled vinegar. Remove everything from the pot, and dump the water. I like to store my sterile cheese cloth in a plastic bag until I need it.
Slowly heat the milk to 86F (30C). Stir it while it heats, and keep the thermometer in, as this happens fast.
Turn off the heat and sprinkle the culture over the surface. Let it dissolve for a minute, then gentle stir the milk for one minute.
Cover and let the milk ripen for 45 minutes.
While stirring the milk, add the rennet dissolved in the ¼ cup of water. Continue stirring for one minute, not more.
Cover and let this rest for 12 hours, at room temperature.
At this point, the milk has thickened. Line your colander with the cheese cloth, set it in a large bowl, and ladle the gelled milk into it. Gather the corners, tie twine around the cheese cloth, and make a loop by tying a knot in the ends of the twine. Hang the cheese from an upper cabinet knob with the bowl under it to catch the whey, as it drains.
Let this hang for another 12 hours.
Once it has drained, turn the cheese into a clean bowl. Add the salt and “mill” it evenly throughout the cheese with your clean fingers.
Place a long piece of plastic wrap on the counter and spoon ¼ of the cheese onto it. Roll the cheese into a log, using alternate edges of the plastic. Once the shape comes together, roll the plastic around the log and pinch the open ends. Spin the log while holding the ends, like a jump rope. This will twist the ends and tighten the form of the cheese. Repeat with the other ¾ until all of the cheese is formed. Refrigerate for at least an hour before adding herbs (if desired).
To coat the outside of the chèvre with herbs, finely chop whatever you want to use and spread it evenly on a plate. Roll the logs in the herbs until evenly coated and re-wrap in plastic.
Eat it or freeze it within a week to 10 days!
Bonus: The whey you’ve collected in the bowl can be feed to chickens or pig, used in baking, added to ferments, or even turned into ricotta, but that’s another story...
The products below are Amazon Affiliate links. If you buy through them, I receive a small commission with no added cost to you.


