“If you wish to make an apple pie from scratch, you must first invent the universe. ”
Without fail, every time I bring a pie to a potluck, someone will corner me with an eager look in his or her or hirm or zee eye (good grief, really?), begging for the secret to such a buttery, flakey crust. Before I spend breath on all of the details, I’ll tell them “The secret is a big gob of pig lard”. If they don’t flinch, I’ll explain my process. If they do, I’ll change the subject, knowing that if I gave them the recipe they will only cut the fat in half and make some tough, hardtack impersonation of a piecrust. The tender flake of a good pâté brisée comes from suspended globs of butter and lard that prevent layers of flour from binding together, add flavor, and a crisp texture. The dough is worked minimally, relying on time rather than manipulation to form cohesive enough dough to roll, shape, and fill. It must be kept cold, lest the fat soften and homogenize with the flour.
Like most delicious things, there is no substitute for time. The minimum duration, to produce this marvel, is a full day. I prefer to make the dough the day before I bake, but it can be done in the morning, and baked in the evening. If you do not have rendered leaf lard in your pantry ***(click here to learn all about that)*** use the best lard you can find. As the culture awakens to the fraud of the low-fat diet, many health food stores are stocking quarts of organic lard, duck fat, and tallow. They tend to cost around $10. Better yet, befriend a farmer, or become one and raise your own. Even that $10 hippy lard is not specifically leaf lard, and there is a noticeable performance difference between the two.
In this recipe, there is some sugar. That is not a traditional ingredient in pâté brisée. I use it in sweet applications, as I find it adds a caramel flavor, and a bit of crispiness. This crust is perfect for fruit pies, turnovers, and tarts. For savory applications, such as potpies, and en croute dishes, omit the sugar, and increase the salt a pinch. Another deviation from tradition is the addition of cider vinegar. There are two reasons I add it to this dough. First, the acid prevents some gluten binding, allowing you to gather and re-roll scraps of this dough, without it becoming tough. A typical piecrust becomes a real tooth breaker if kneaded even as slightly as to be re-rolled. Second, acid retards oxidation. Oxidation of food is what we observe as browning. By retarding oxidation, your pie will be able to cook completely without having to tent the edges of the crust with some tin-foil-hat contraption.
The scope of this post is just the preparation of the crust to the point it’s in the pie pan. Stay tuned for instructions on the rustic apple pie I ended up making with it!
Ingredients:
6 Tbl Butter,
6 Tbl Leaf lard
2 ½ cups All-purpose organic flour
1 Tbl raw sugar
1 tsp salt
1 glass of ice water (only about 4-5 Tbl will be used)
1 Tbl cider vinegar
Directions:


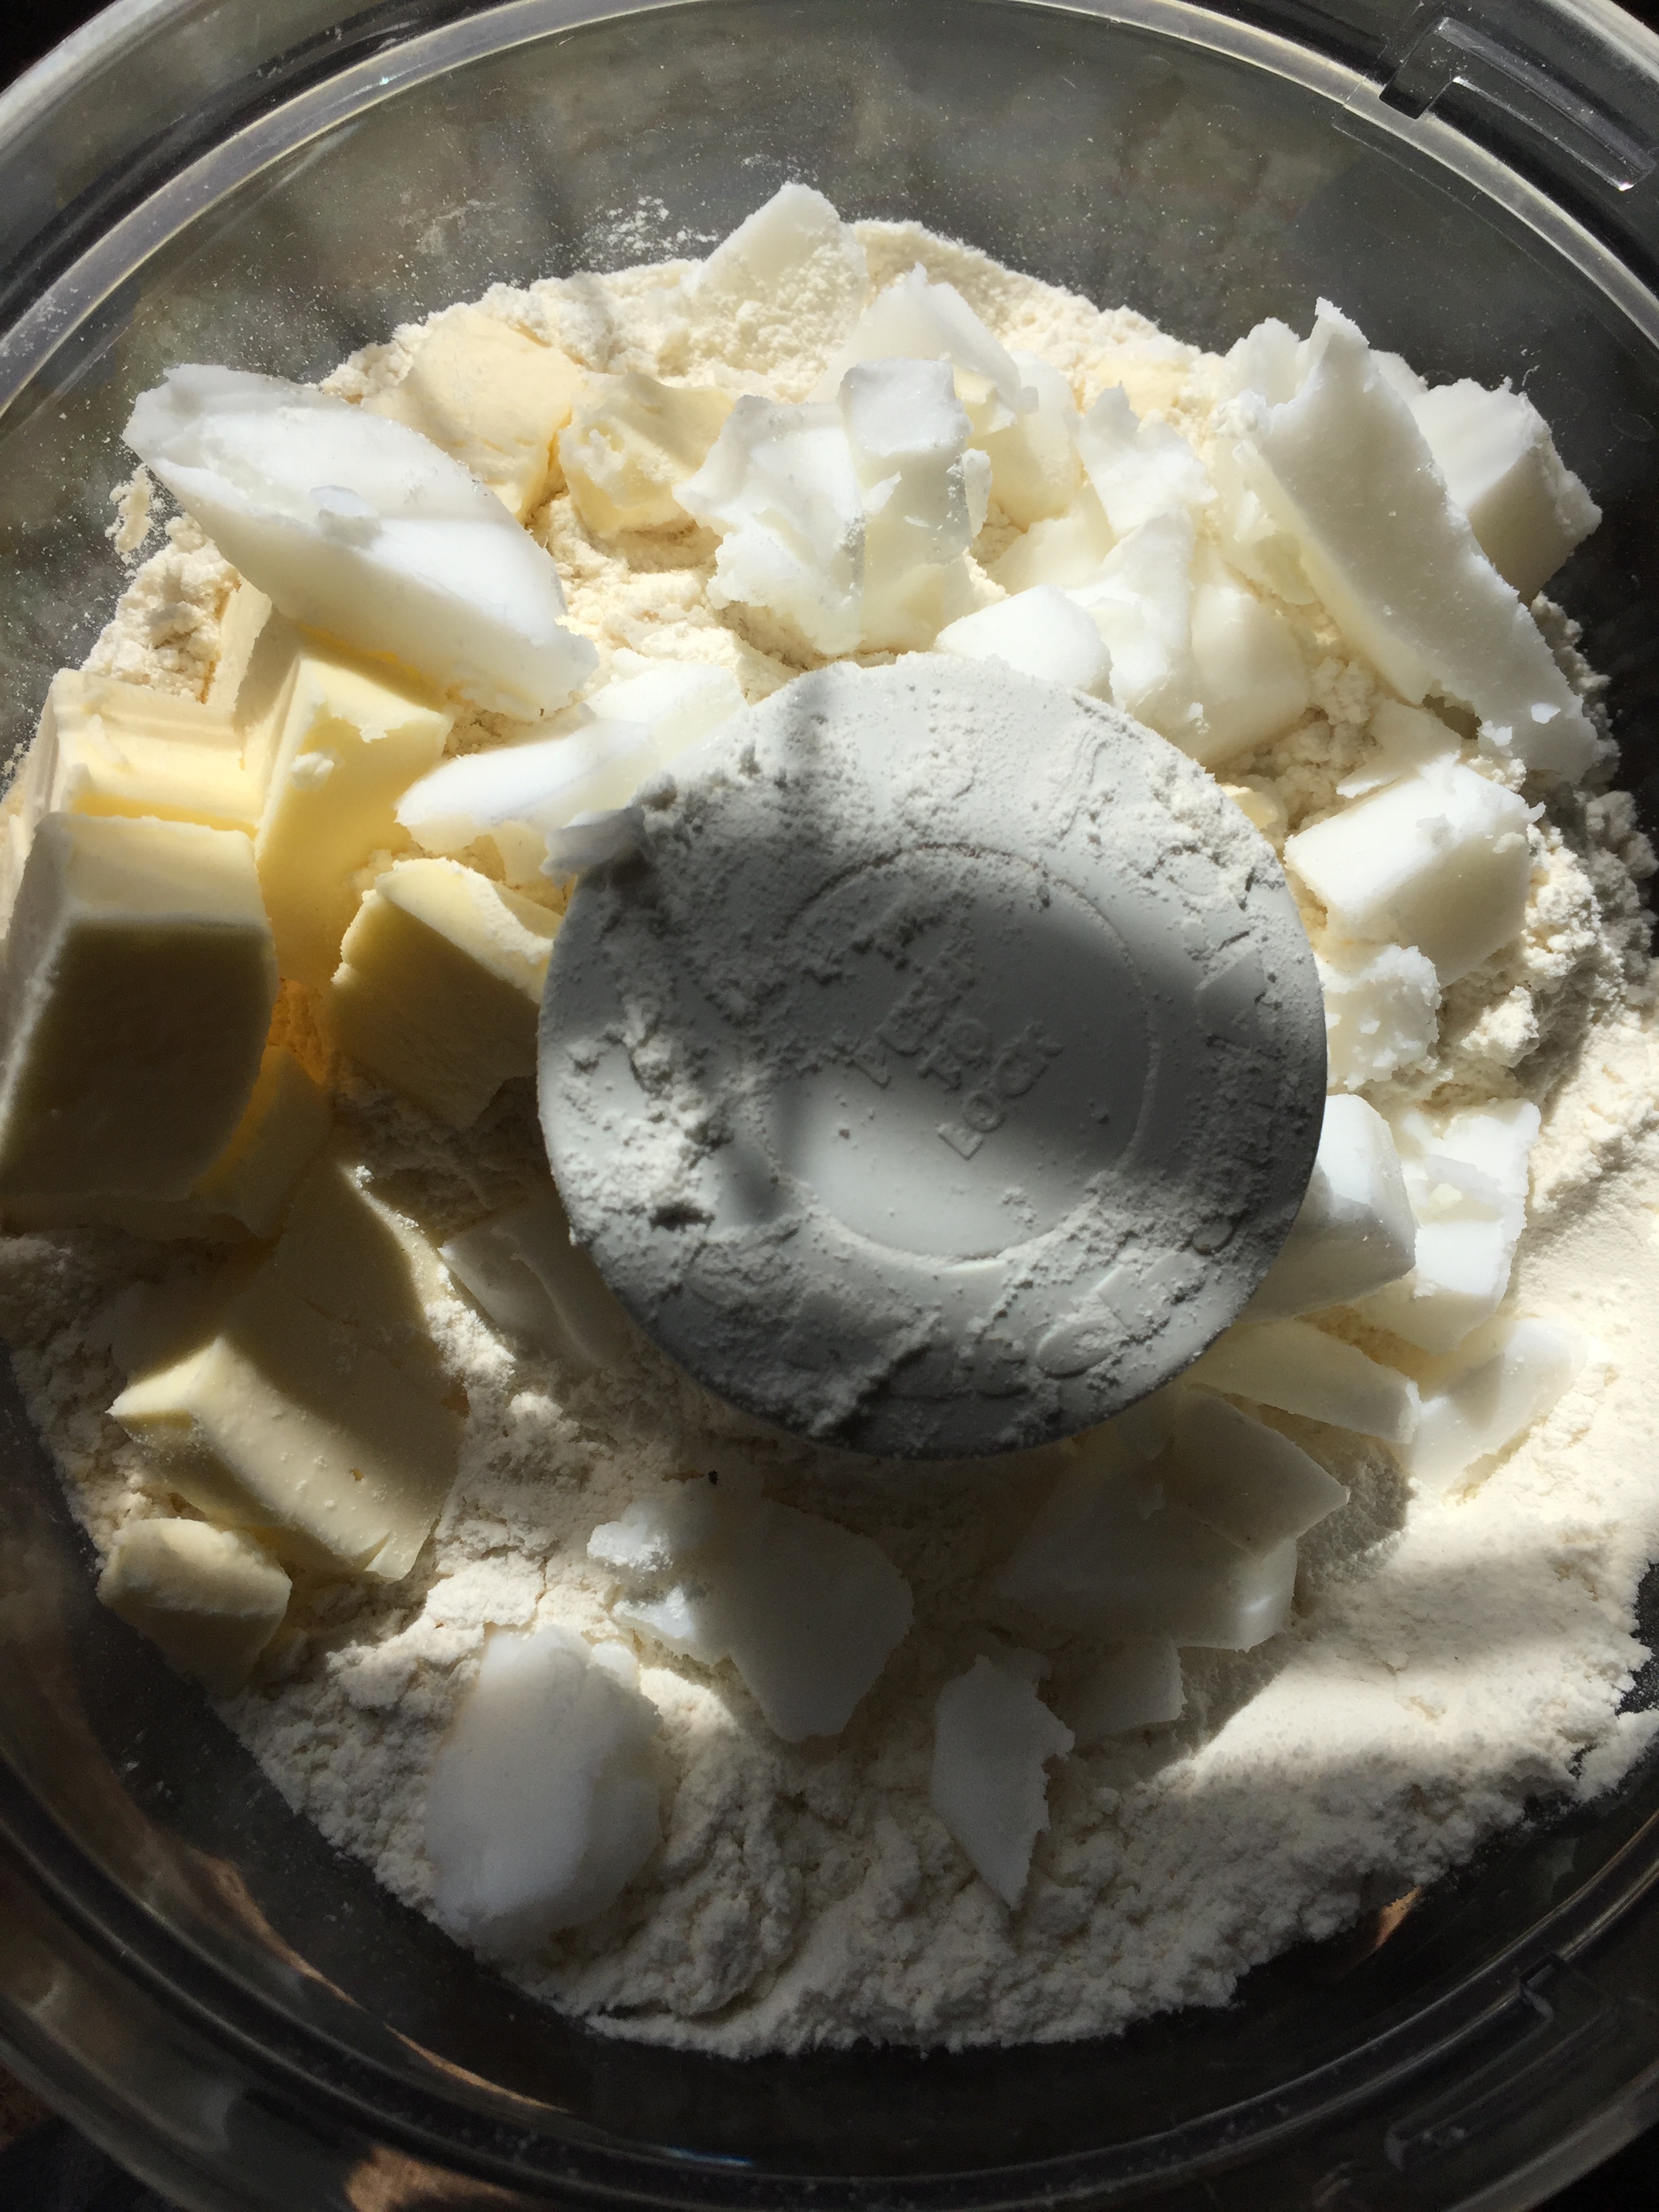
Cut the butter into 1/2 “ cubes and put it on a small plate with the glob of lard. Place this in the freezer for an hour. Remove it, and cut the lard into 1/2” cubes.
Put the flour, salt, and sugar in a food processor. (A pastry blender works, but you better have a stiff one to cut through frozen butter without bending). Pulse the food processor until the fat globs are not larger than peas.


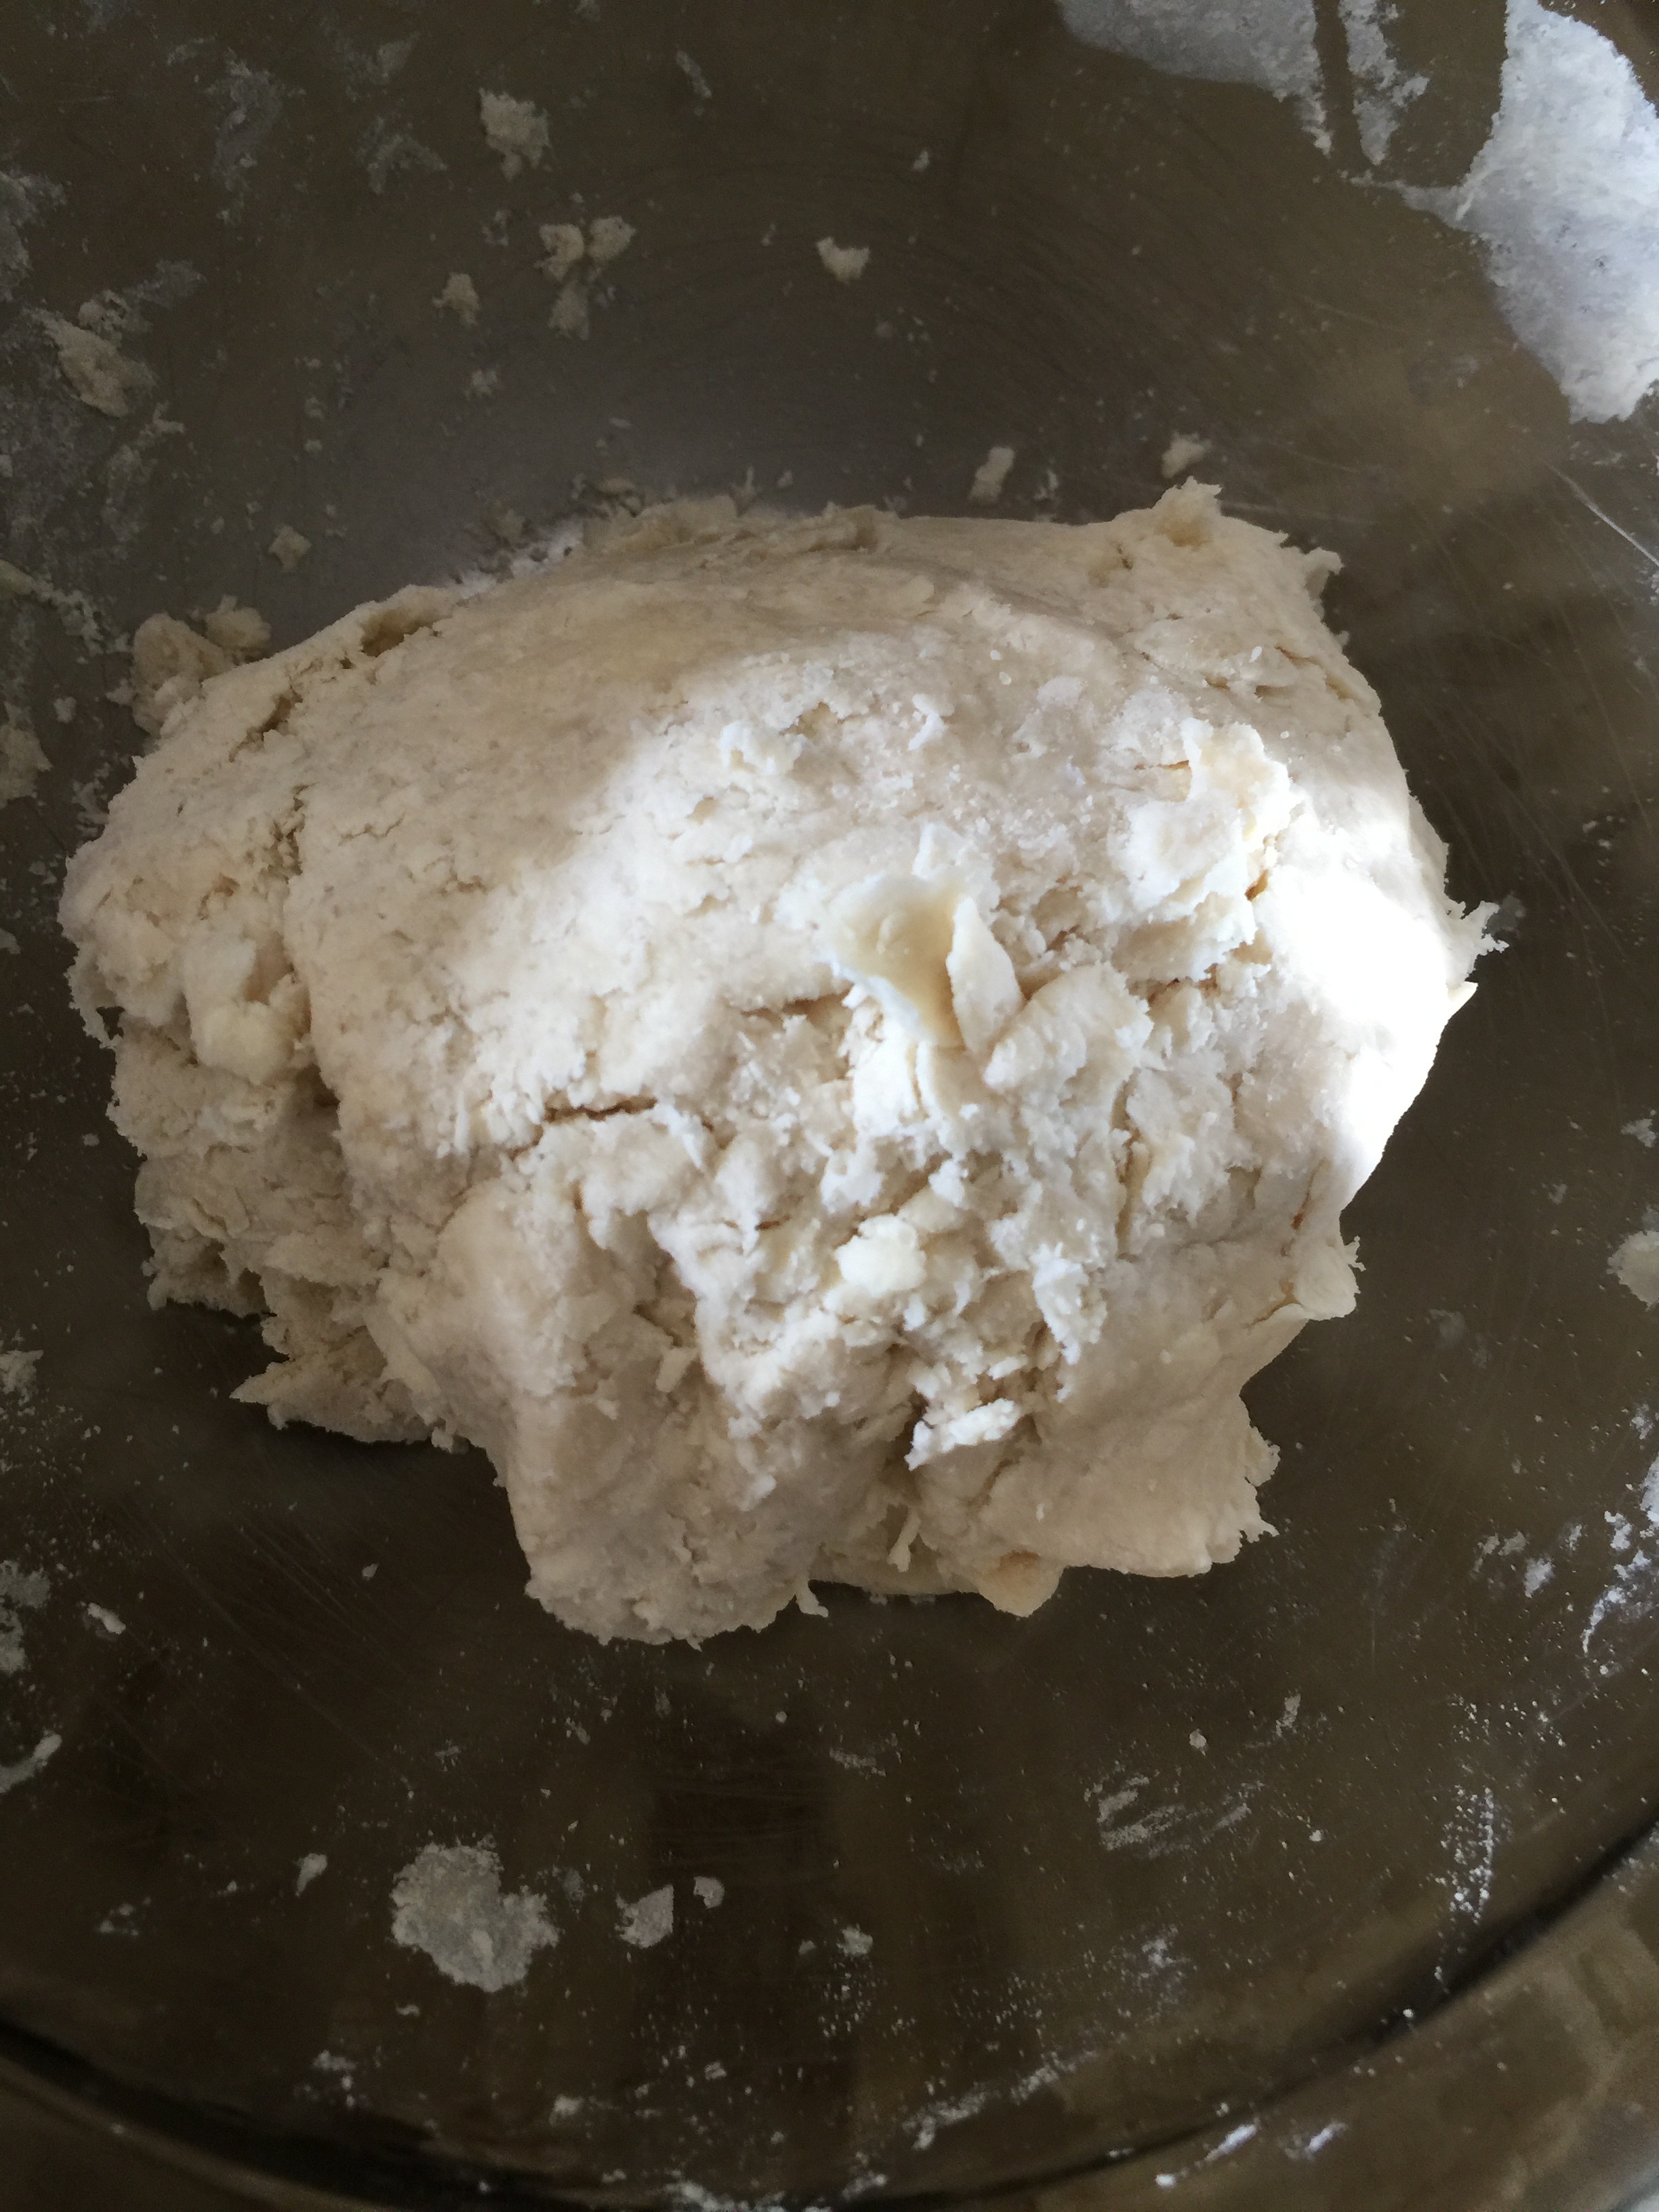
Pour this into a mixing bowl. Mix the cider vinegar with the glass of ice water. Add about 2 TBL of the ice water vinegar mixture to the flour mixture and blend from the bottom of the bowl, with a fork. Add a little more (don’t let any ice slip into the dough). What we are looking for here is the point when there is no longer any dry flour in the mix. Do not go as far as a cohesive ball of dough, or it will be tough. Leave it as dry as possible, but just moist enough to clump when squeezed.
Once everything appears to be just moistened, press it into a ball with as few manipulations as possible.
Place the ball onto some plastic wrap, and fold the wrap around it. Flatten and round the dough such that it is about 1” thick. Refrigerate over night.

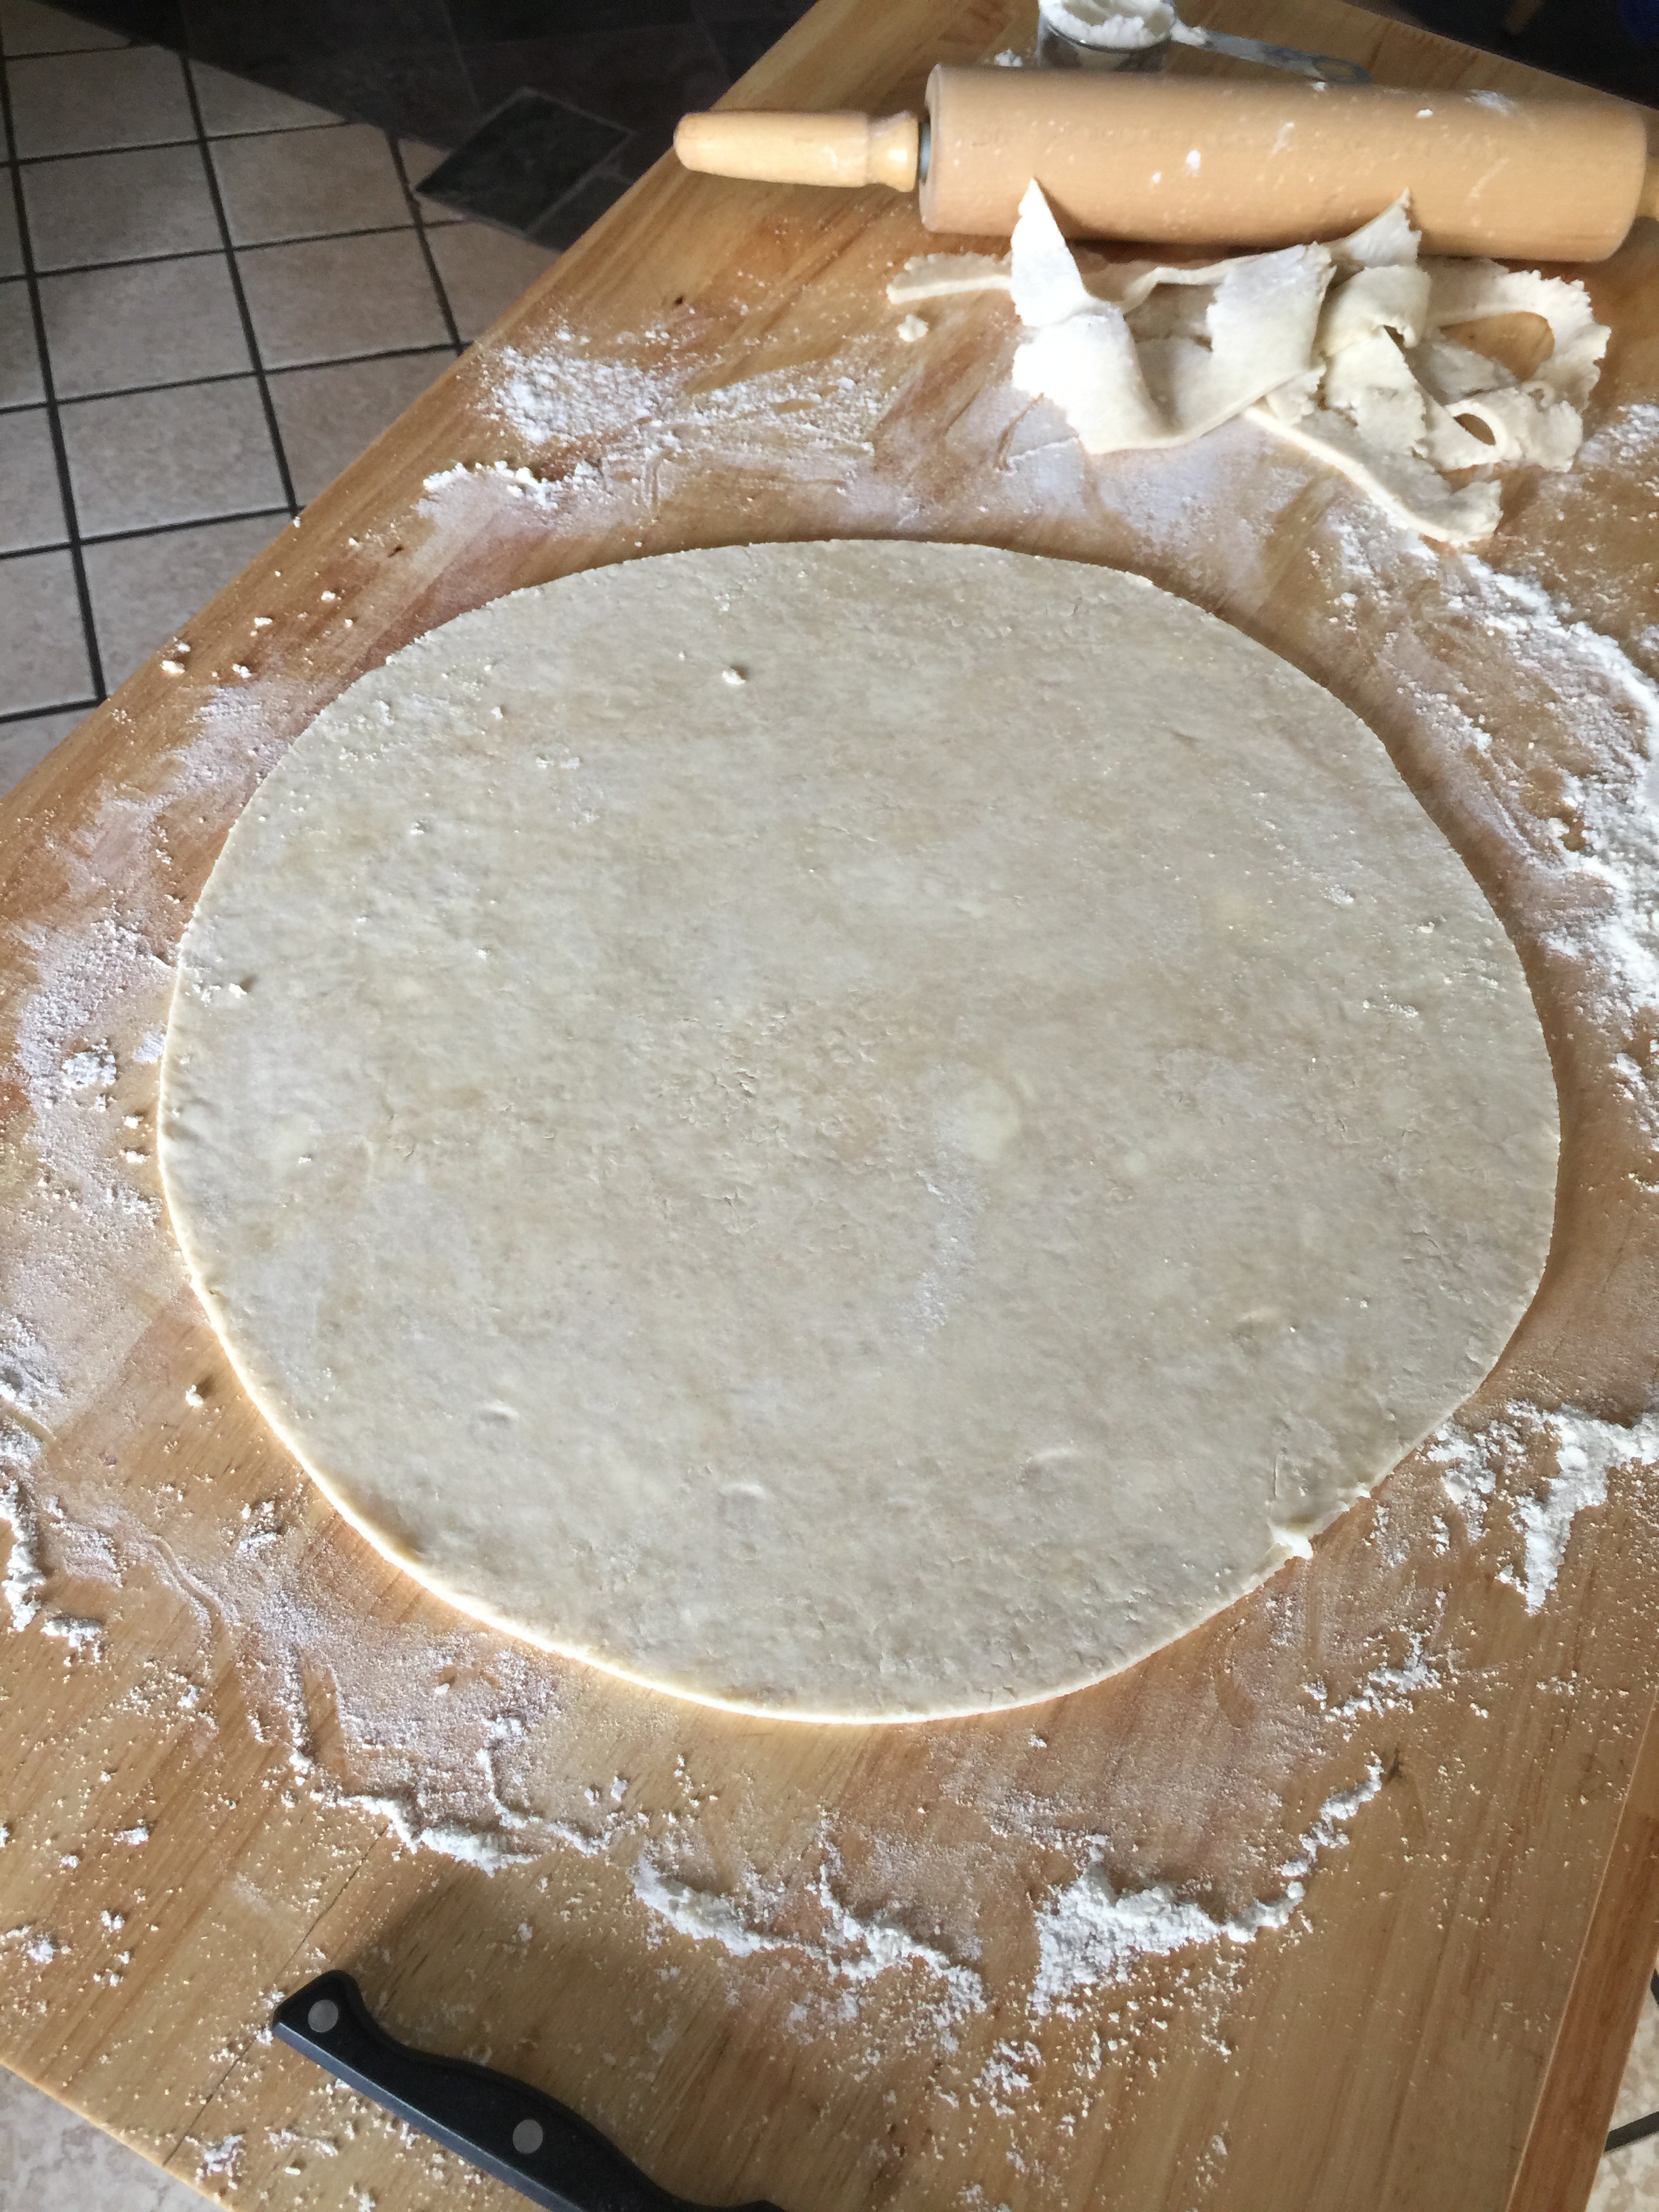
In the morning, place the chilled dough on a liberally floured surface. Roll from the center out, spinning and flipping the dough frequently. Once you have reached a diameter about equal to the bottom of your pie pan, stop flipping and spinning, and arrive at your final size by rolling from the center to just before the edge, in all directions. The crust will start to grab the work surface, if you notice it wanting to fold as you roll, lift that area with a dough scraper and lightly flour that spot. Continue rolling until you have a rough circle about 6” larger, in diameter, than the lip of your pie pan.

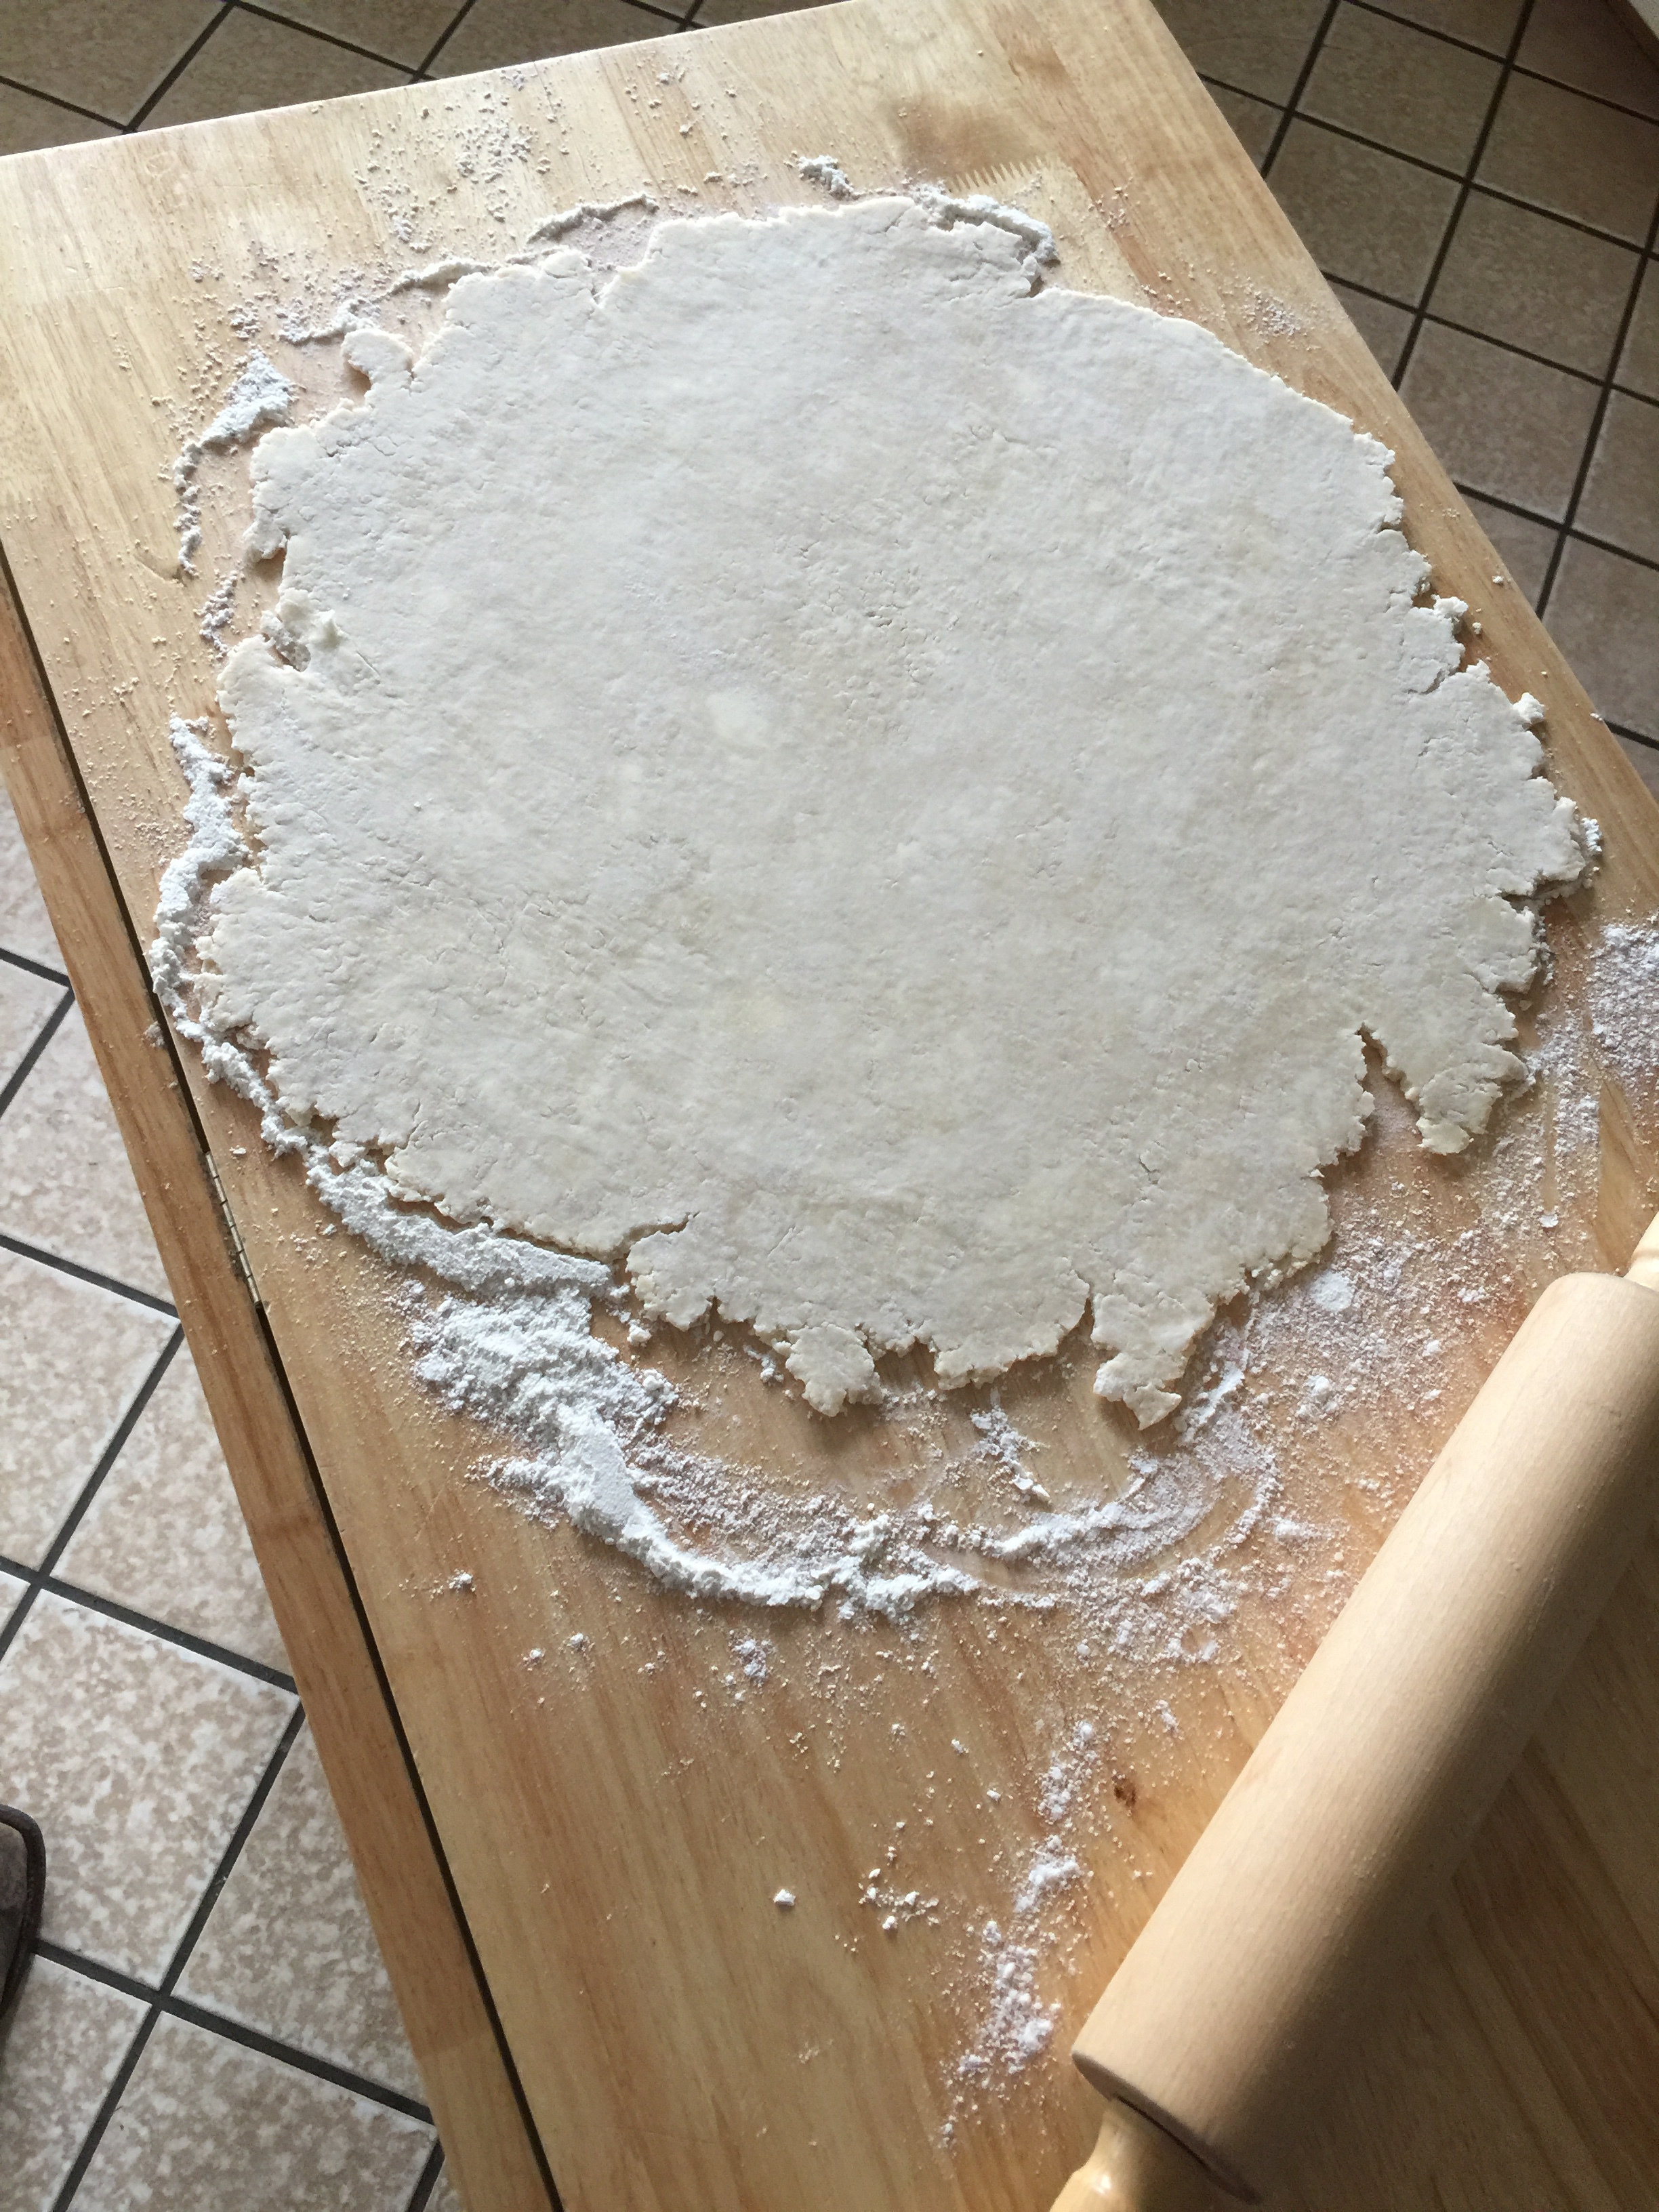
Trim the ragged edges of the crust into a nice clean circle.
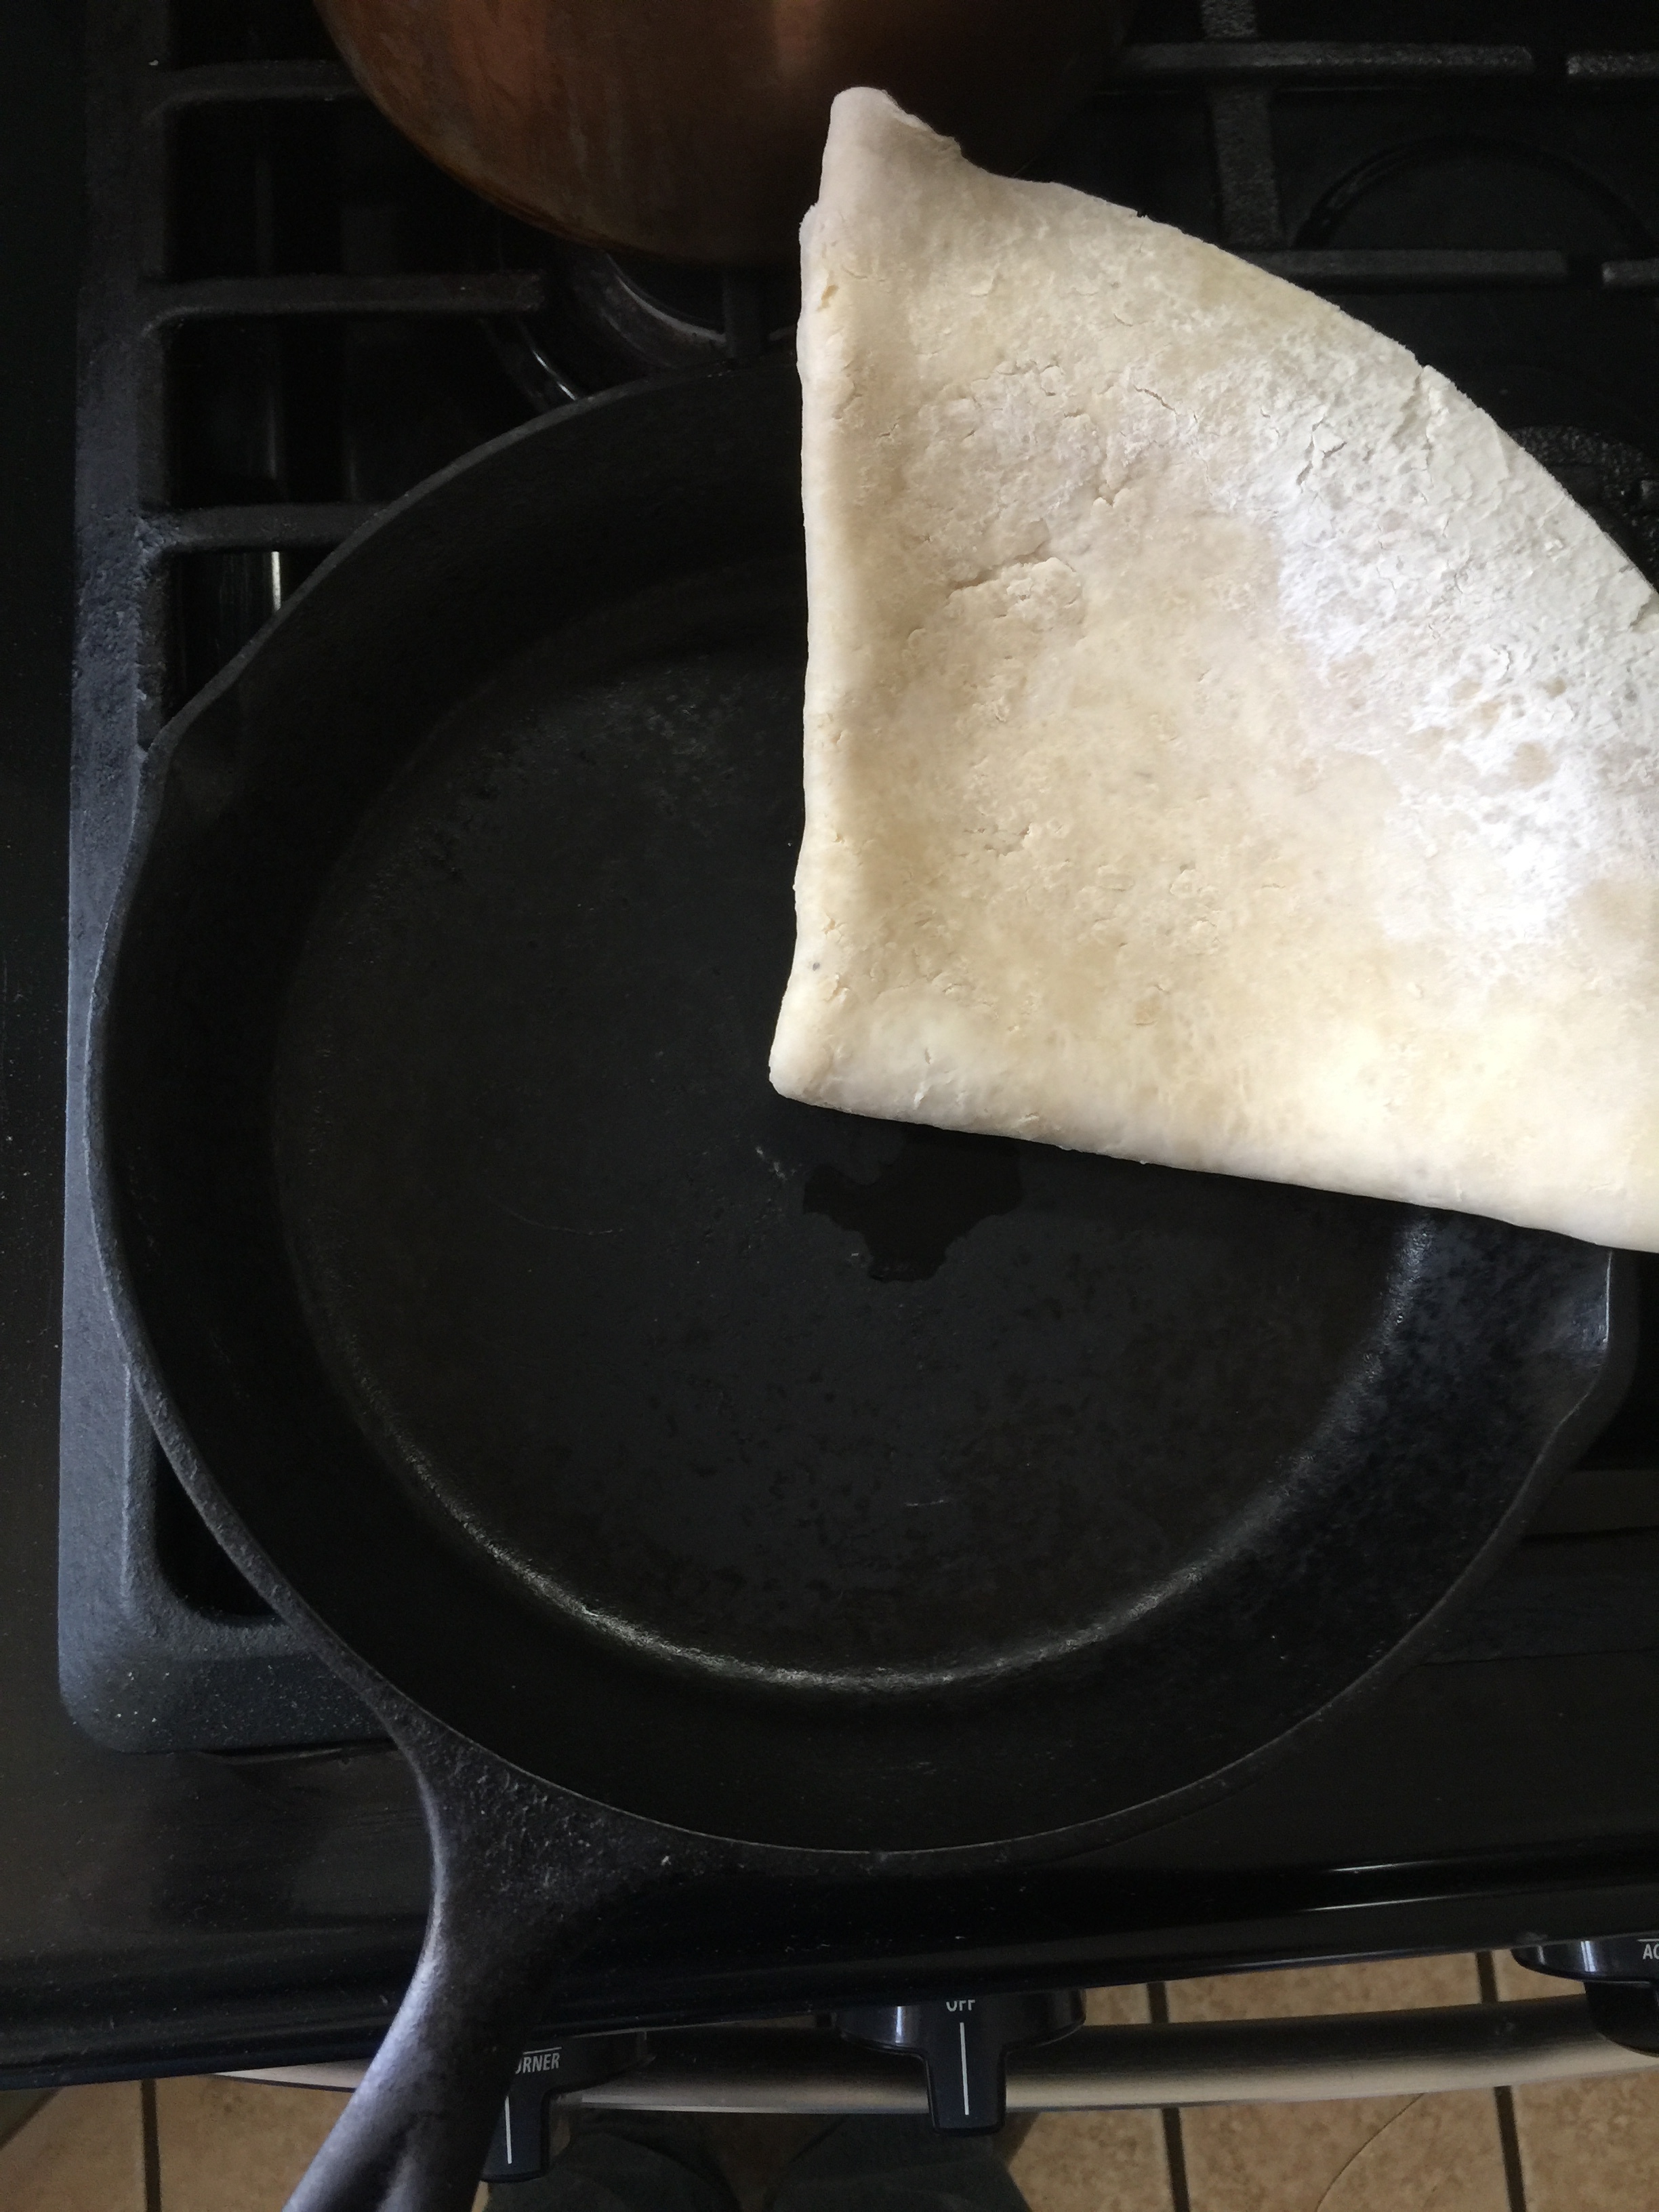
Using your dough scraper, fold the piecrust in quarters. Lift it into your pie pan, placing the point of your folded crust in the center of the pan. Unfold it, and fill with your favorite pie filling!
This approach is for my signature rustic pie method. I will detail that, next time… If you want a more classical appearance for pies with tops, divide the dough into two balls before chilling (one about a third smaller than the other). If you want a woven, or lattice top, roll the dough as directed, then trim your circle a bit smaller and re-roll the trimmings to make your lattice strips. As always, feel free to leave and thoughts or questions in the comment section, below. Also, sign up for the newsletter if you want to know the moment a new post appears!
The products below are Amazon Affiliate links. If you buy through them, I receive a small commission with no added cost to you.