“Strawberries are what make life taste wonderful.”
Learning to fail
Becoming proficient at growing your own food requires many failures. You can research for years, read all of the books, and listen to all of the podcasts, but nothing Improves your skill like killing things, in the garden. This was my experience with strawberries. I watched a YouTube video of Curtis Stone interviewing some guy in Central America who grew tons of strawberries. His method involved burning holes in landscape fabric, laying drip irrigation, and draping with row cover. Now, I’m resistant to what is know as “plasticulture”. This is the use of plastic mulch, like landscape fabric, and poly row cover. These things have their place, but I lean toward finding ways that do not require reliance on petrochemicals to farm. None the less, the way this guy’s strawberries looked, and the yield numbers, blew my mind. I then proceeded to kill 100 strawberry crowns. Here are the mistakes I made:
1) Poor Stock- I purchased my strawberry crowns (roots and the base of the plant) from one of those glossy tabloid format catalogs that come in the mail. You may know the kind. They arrive under a handful of company banners, but are all the same, inside. The pictures are great, and the prices are amazing. As it turns out, these catalogs, and the companies that send them, are a liquidation system for out dated and rejected inventory. My plants arrived half dead, moldy, and crushed.
2) Wrong Infrastructure- Knowing next to nothing about farm scale irrigation, I bought 1/4” weep hose to water my diseased darlings. The flow rate was near nothing, and it clogged with my hard well water, almost immediately. The black plastic landscape cloth acted as an oven, cooking the roots. I installed PVC pipe hoops to carry the row cover, and clipped it to them. This prevented me from being able to see what was going on, under there.
3) Bad Timing- It wasn’t until June that I planted those fated berries. The heat desiccated them before they had a chance to grow.
Learning to succeed
After Killing those first plants, I decided to change all of the variables in the experiment. I thought about where I’d seen strawberries thriving in the forest. Invariably, they were in partial shade, with deep mulch. I bought new crowns from a reputable nursery, for five times what I paid from the re-seller. I tore out the landscape cloth and PVC. I replace the weep hose with 5/8 drip tape with 6” dripper spacing, and added a third line. I planted the crowns North of two rows of asparagus to shield them from the intense summer sun. I amended the soil with heaps of compost (which I did not have for the first batch), and mulched the beds with four inches of wood chips, taking care to leave plenty of space around the crowns. This worked.
Strawberry types
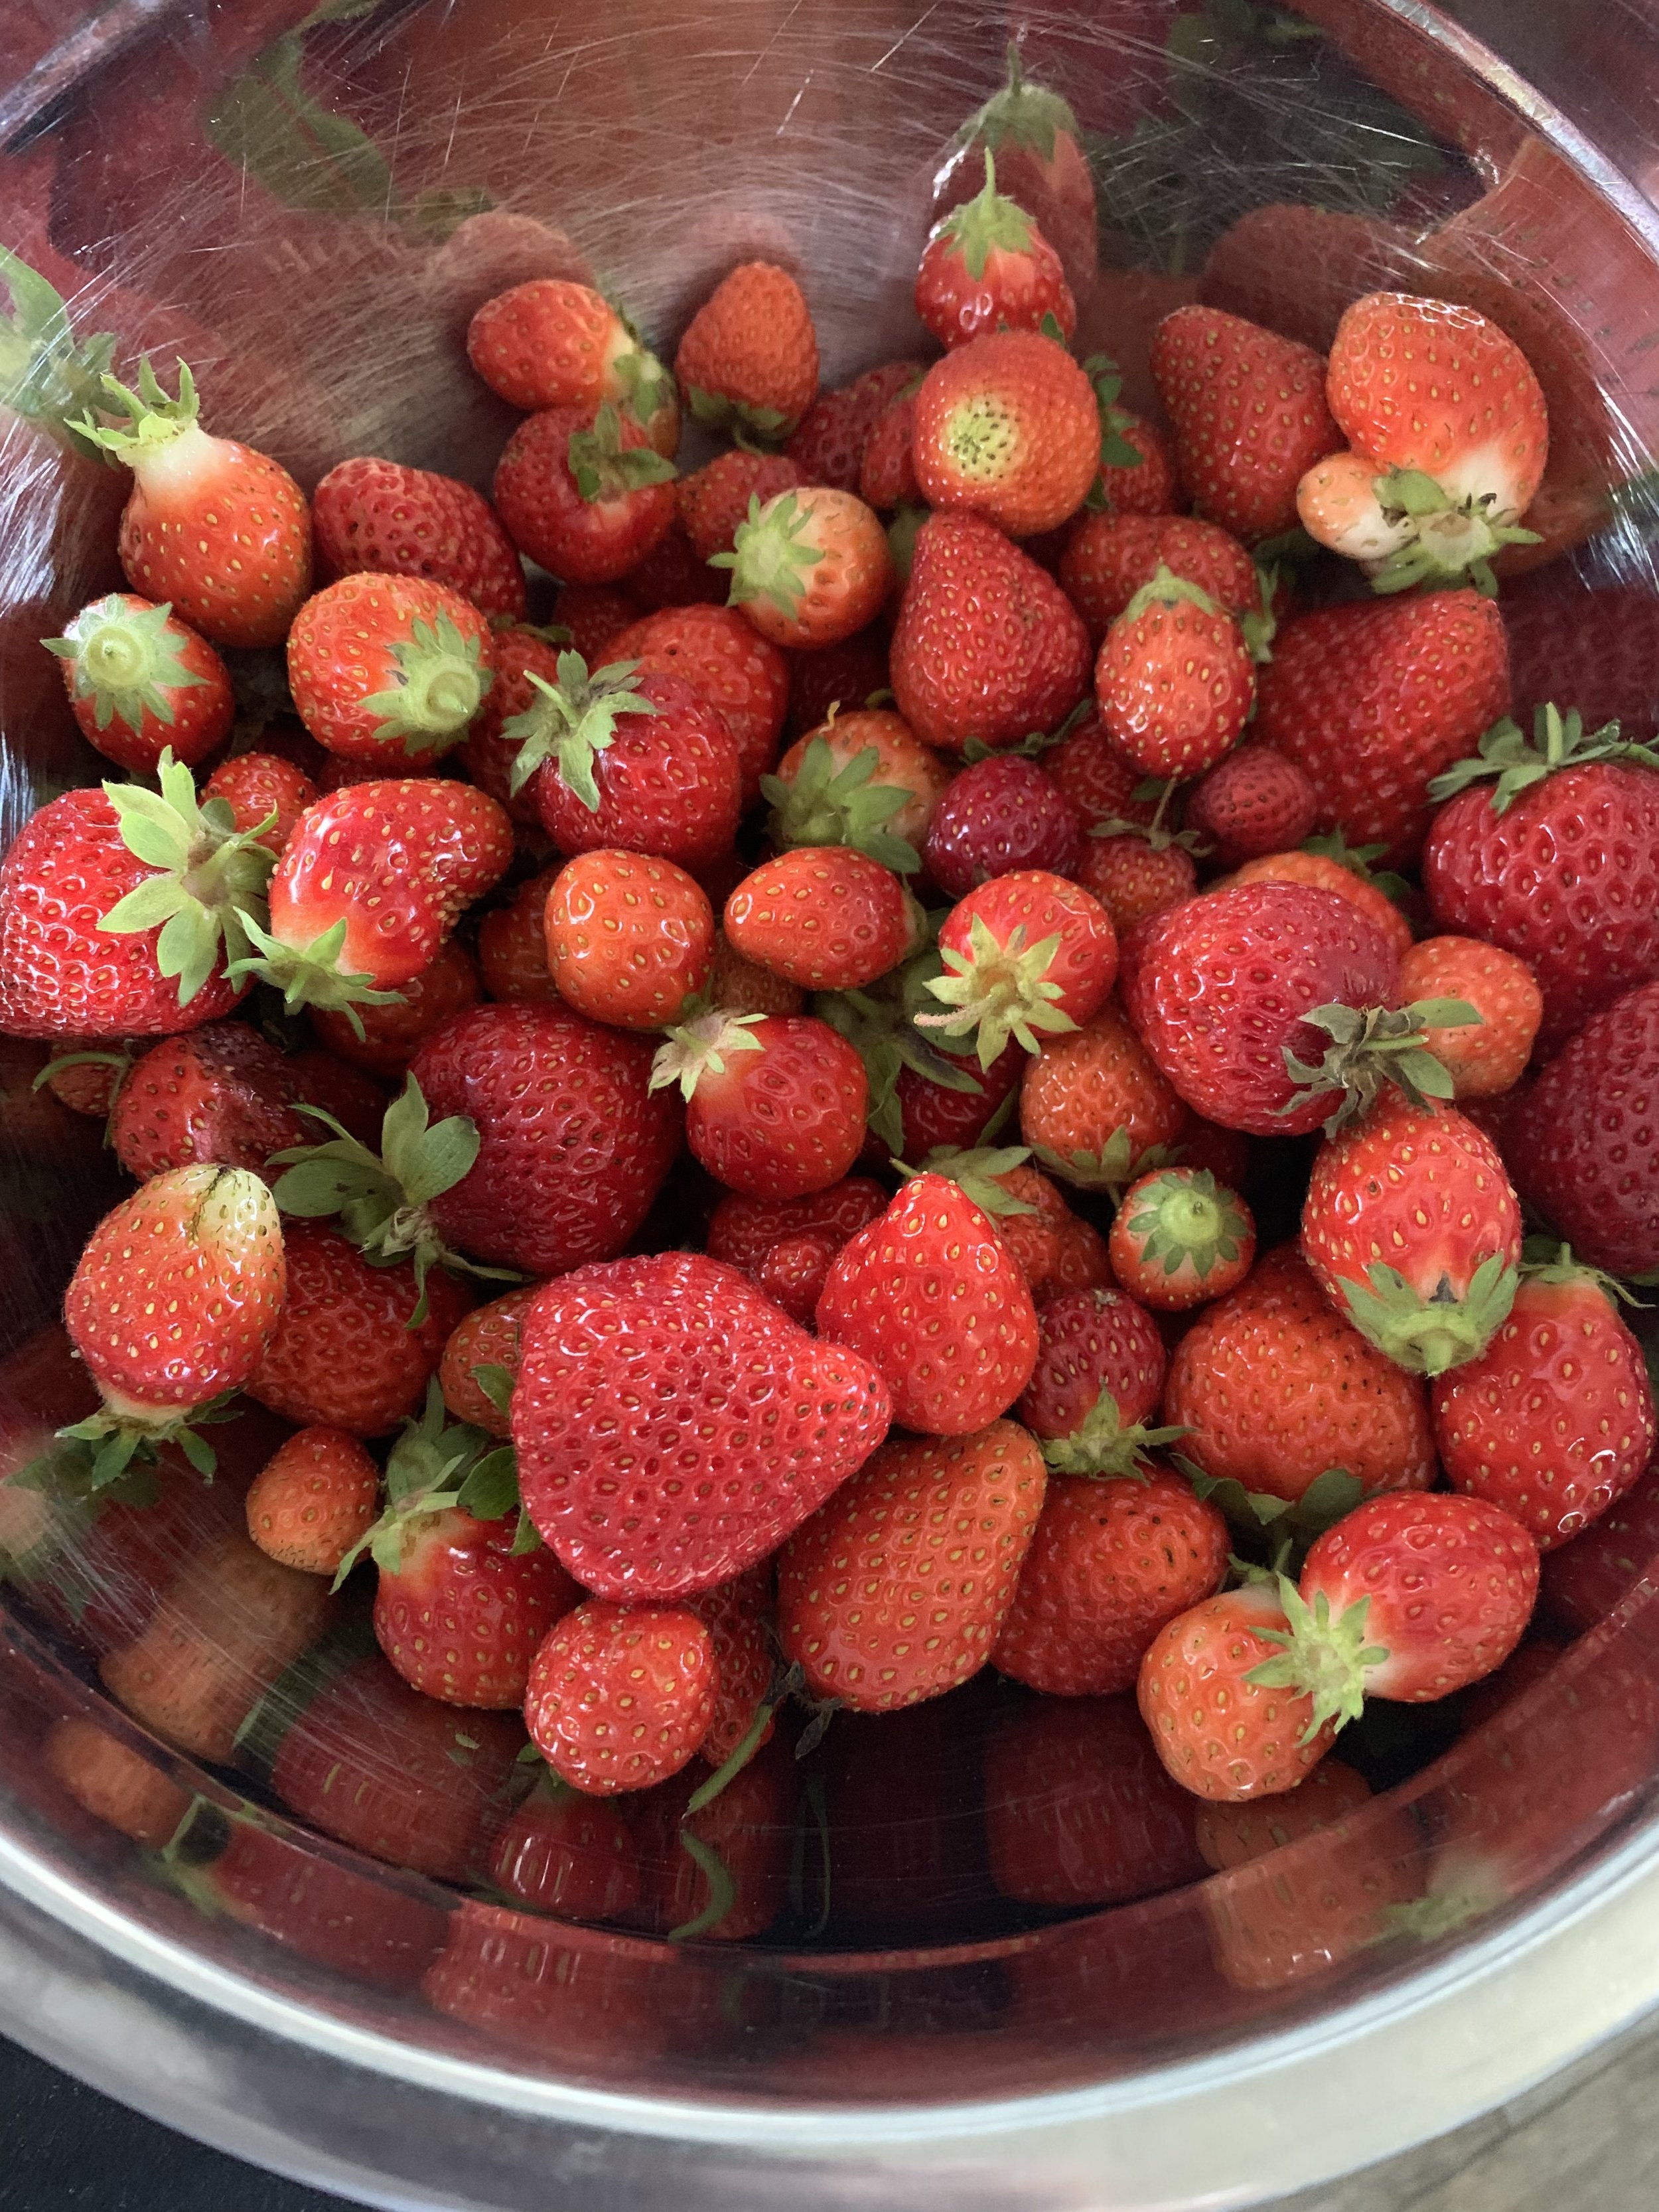
Broadly, strawberries come in two fruiting types. There are “June bearing” and “ever bearing”. The later should be called “twice bearing”, in my opinion. The former flowers and puts on a ton of berries early in the season, then they are done for the year. “Ever bearing” types will fruit with the June’s, take a mid summer break, and then fruit again, harder, in late summer through fall. I grow both. I can strawberry jam in late June, and again during the peak of the second ever bearing flush. When the patch is yielding over a gallon of fruit a day, I freeze them, or make pie, as we will get to soon! Among the two fruiting pasterns, there are countless cultivars expressing fruit size, flavor, disease resistance, and cold hardiness. Be sure to select berries that will have the best chance in your conditions.
Strawberry management
There are conflicting schools of thought regarding the pruning of strawberries. Each crown produces three types of growth; flowers, leaves, and runners. The extremists advise pruning all but the leaves in the first season, and all runners, after that. The thinking is that this allows new plantings to focus all growth into root strength. Personally, I agree with taking all runners for the first two years, but I never prune flowers. Once the plants are three years old, their productivity tends to drop, so its good to let some runners go to create new crowns for future patch strength. If you want to have starts to transplant, one good trick it to drill holes in plastic cups, bury them in the strawberry patch, fill them with soil, and train runners to root in them by weighting the root nodes in them with a stick across the vine. Older, less productive plants can be removed to make room for new ones.
The pie
Often, strawberry pie comes with rhubarb. I have no problem with that, but there is just something so amazing about a straight strawberry pie. The strawberries on offer at the store are not the same as the ones you can grow, or buy from a trusted farmer. Commercial berries are a mess. On average, they are contaminated with 7.8 different pesticides, and that comes from the USDA! Additionally, to avoid mold, strawberry fields are injected with nerve gas, eradicating all soil life. Strawberries are the most likely food to be contaminated with pesticides. So, if you are going to make a whole pie of strawberries, pony up for some clean ones, or grow your own.
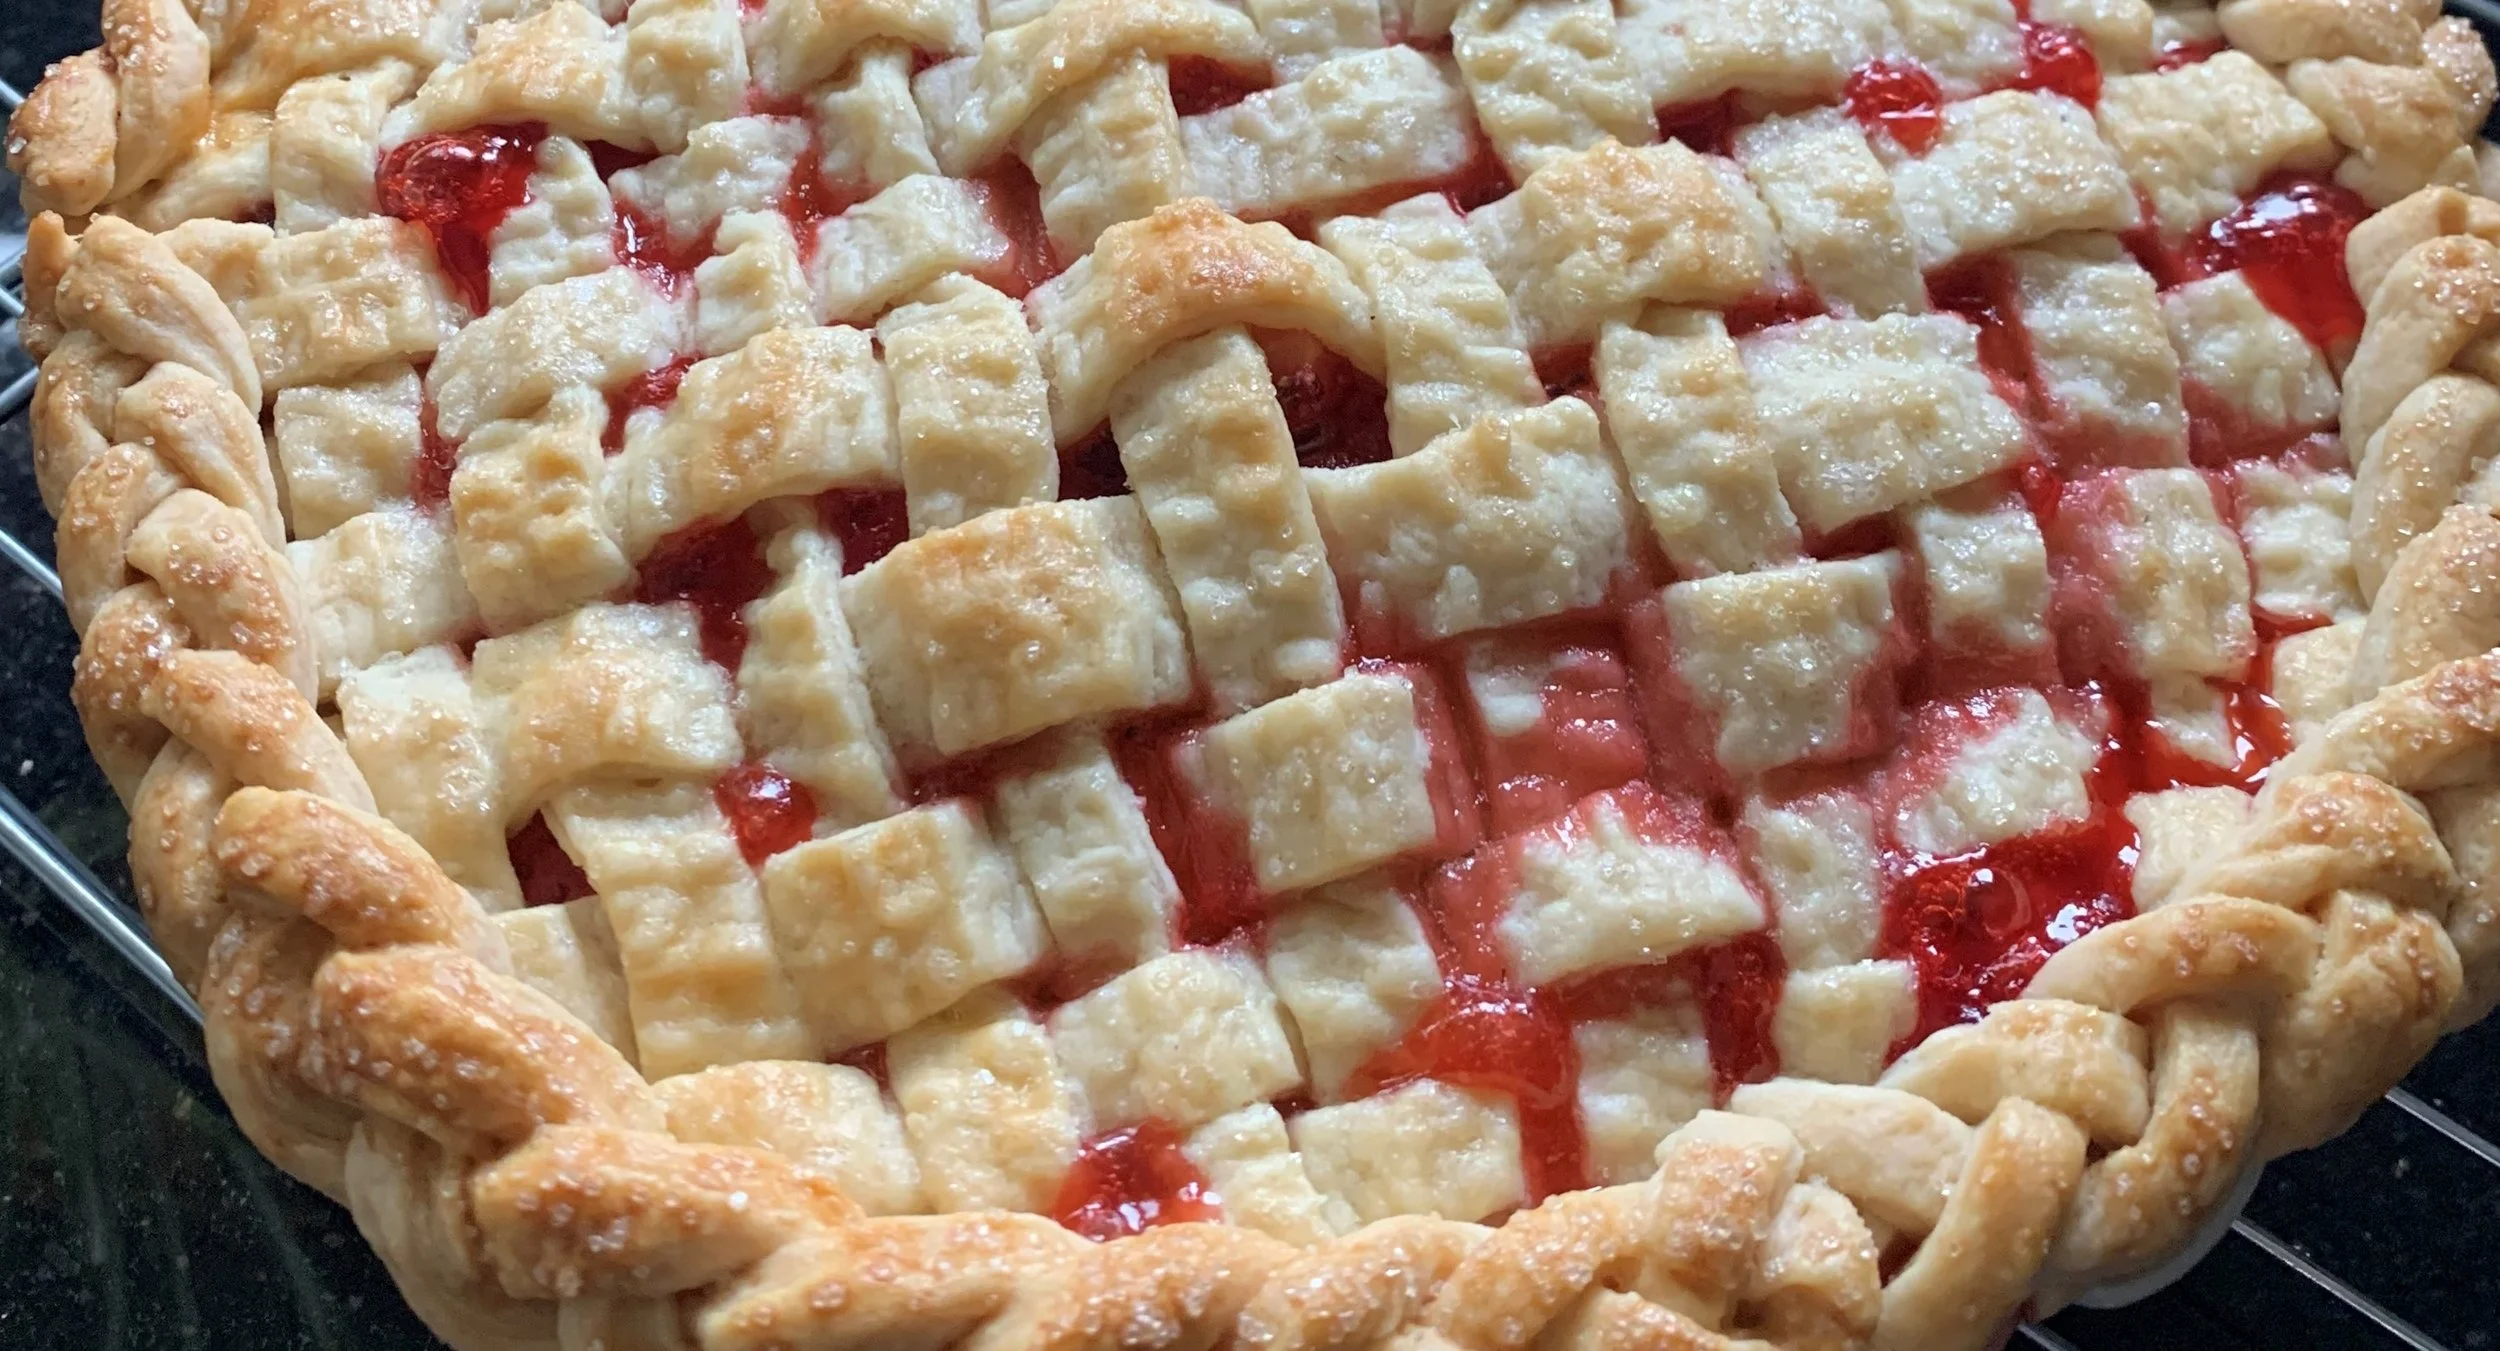
This pie is a bit more refined than the rustic apple pie from an earlier post. You can get all fancy with it, as pictured, or make it as a two crust pie with a few vent holes sliced in the top. The key to having a detailed crust like this come out both beautiful and flaky is to keep it cold. Keep anything you are not working on chilled. It is best to make the crust a day ahead, but an hour will do. Avoid handling it too much with your hands, and do this in a cooler part of the day, if your house gets super hot.


Ingredients:
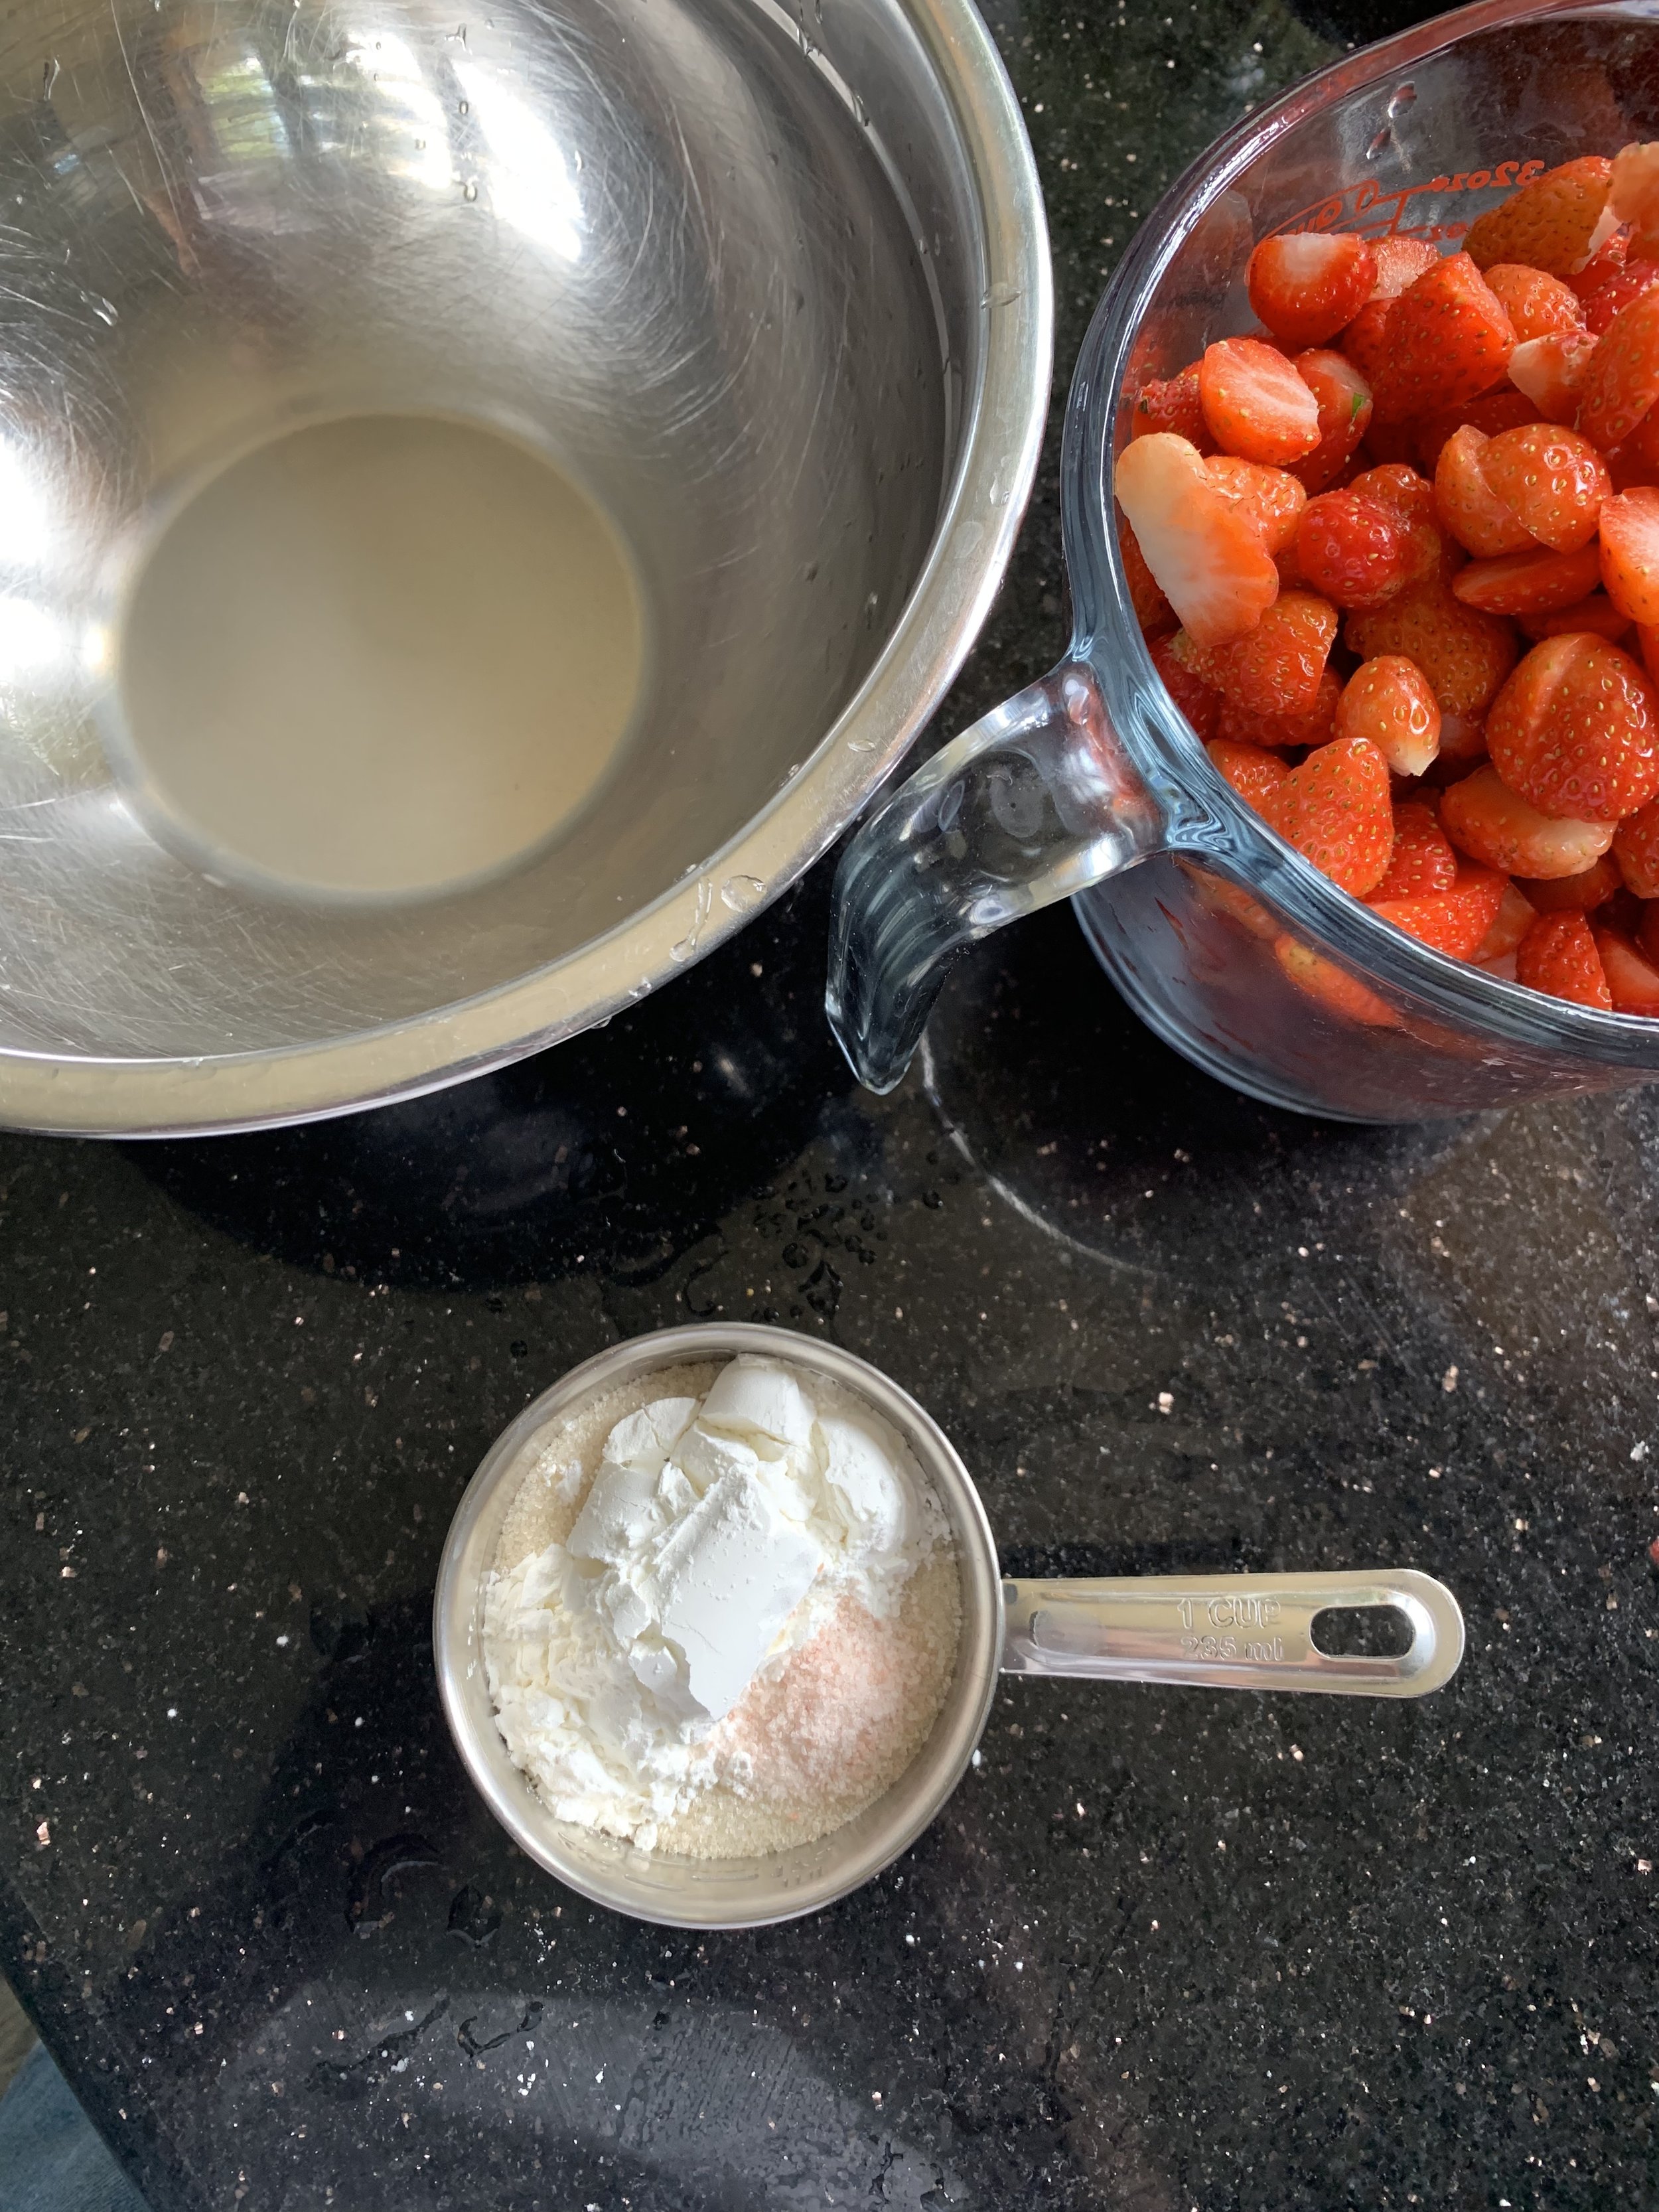
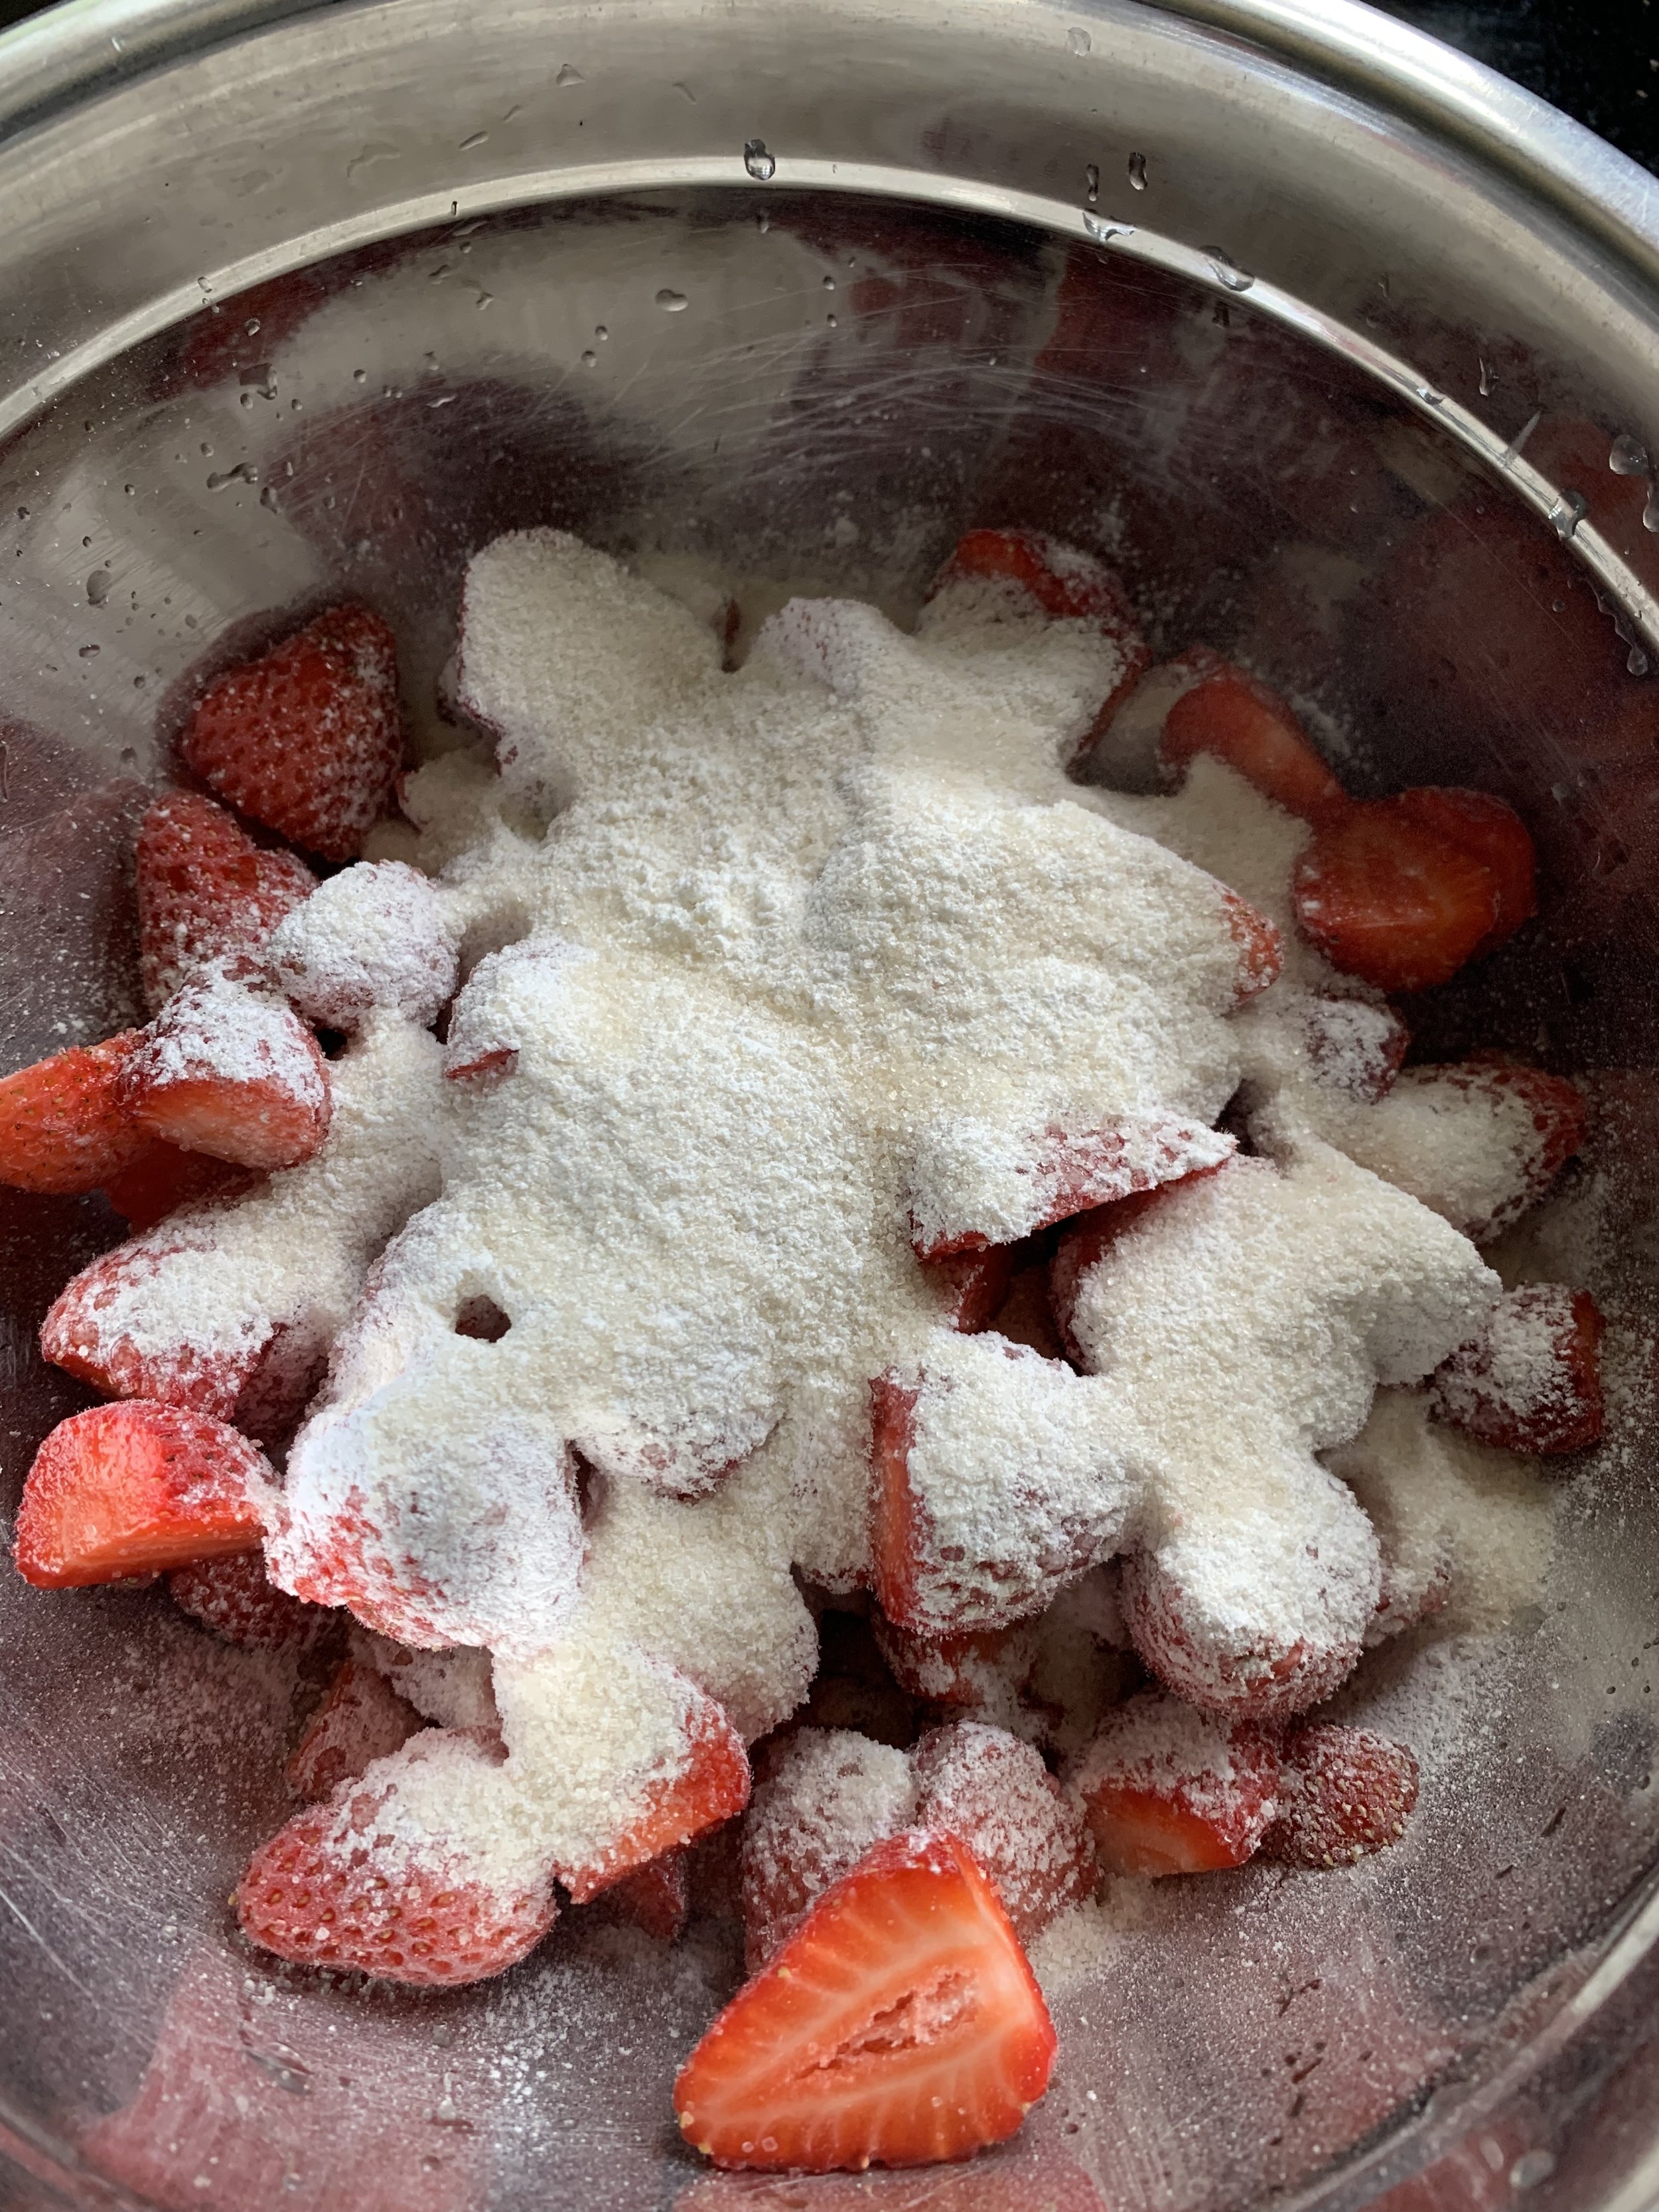
1 quart washed, topped, and split strawberries
¾ cup organic cane sugar
2 Tablespoons corn starch
½ teaspoon salt
1 pie crust, linked here
2 Tablespoons of butter
1 egg white
Directions:
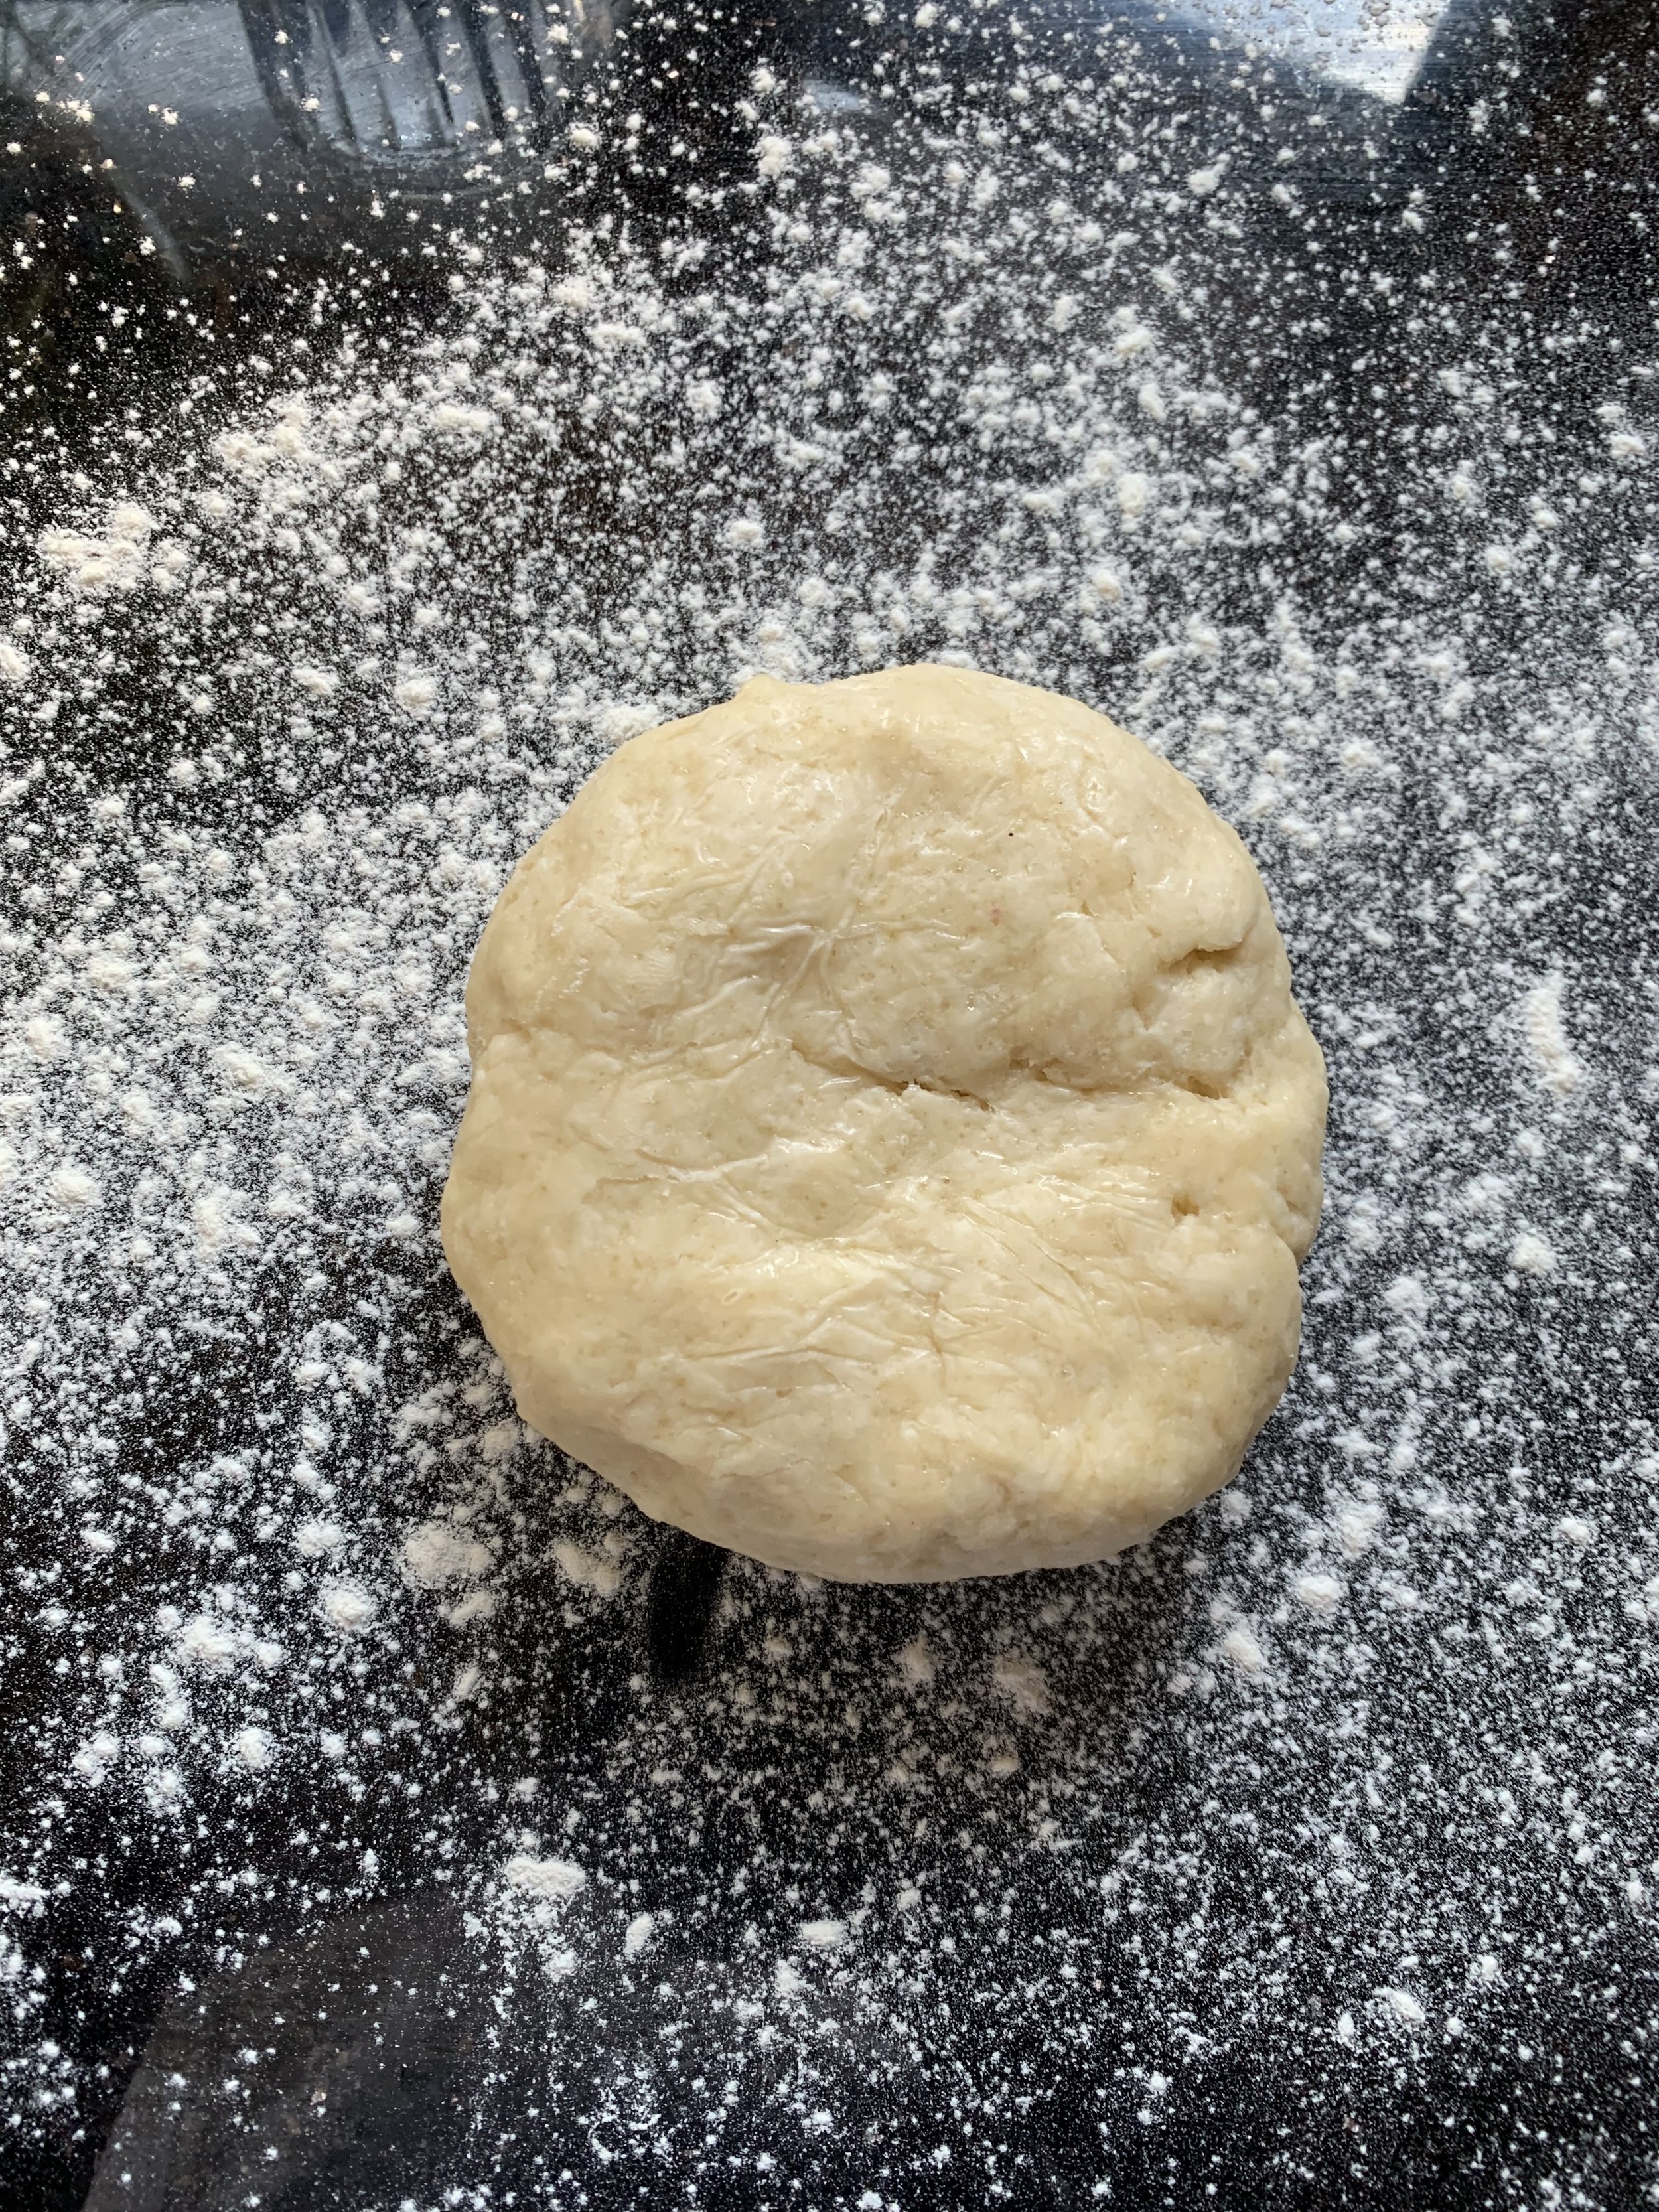
1) Make the pie crust according to the directions in this post. Knead it a few extra times to develop a bit more gluten, and ensure a more sculptable dough. As long as it has time to rest in the fridge, it will relax and still be tender and flaky. Divide the dough in half, and form each into a thick disc. Wrap in plastic and refrigerate for one hour, to overnight.
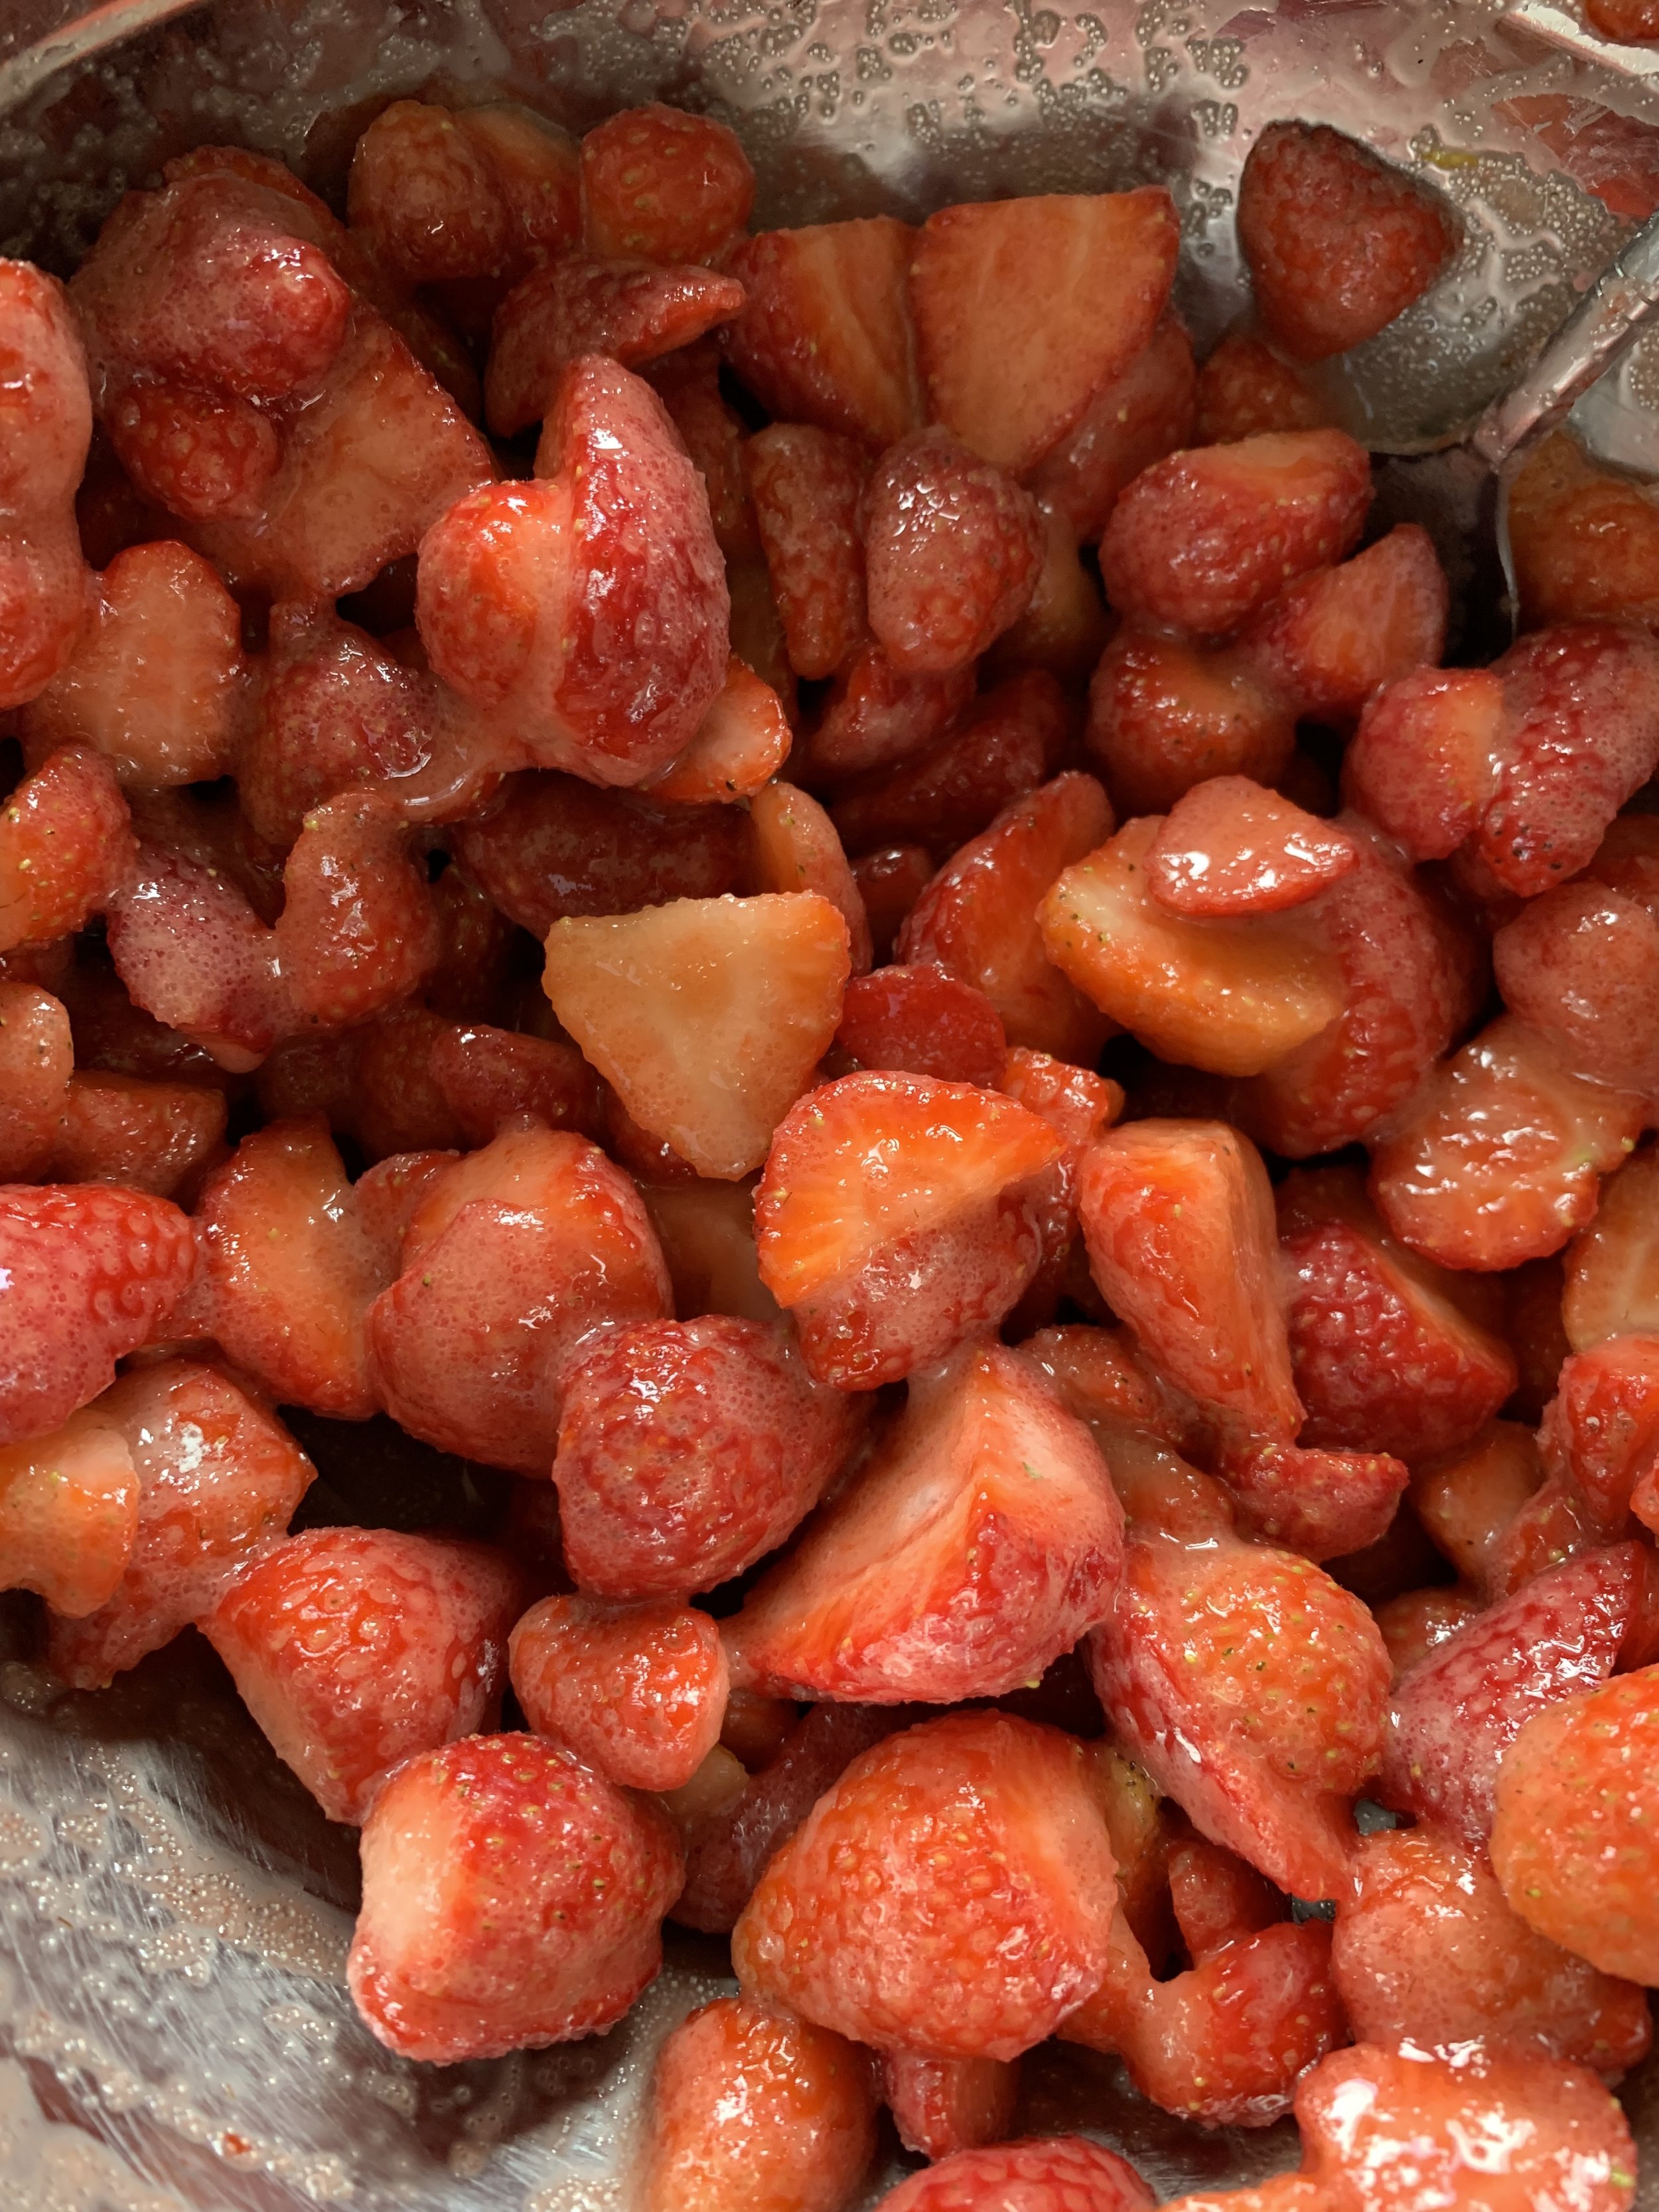
2) Toss the berries with the sugar, cornstarch, and salt, and refrigerate for one hour.
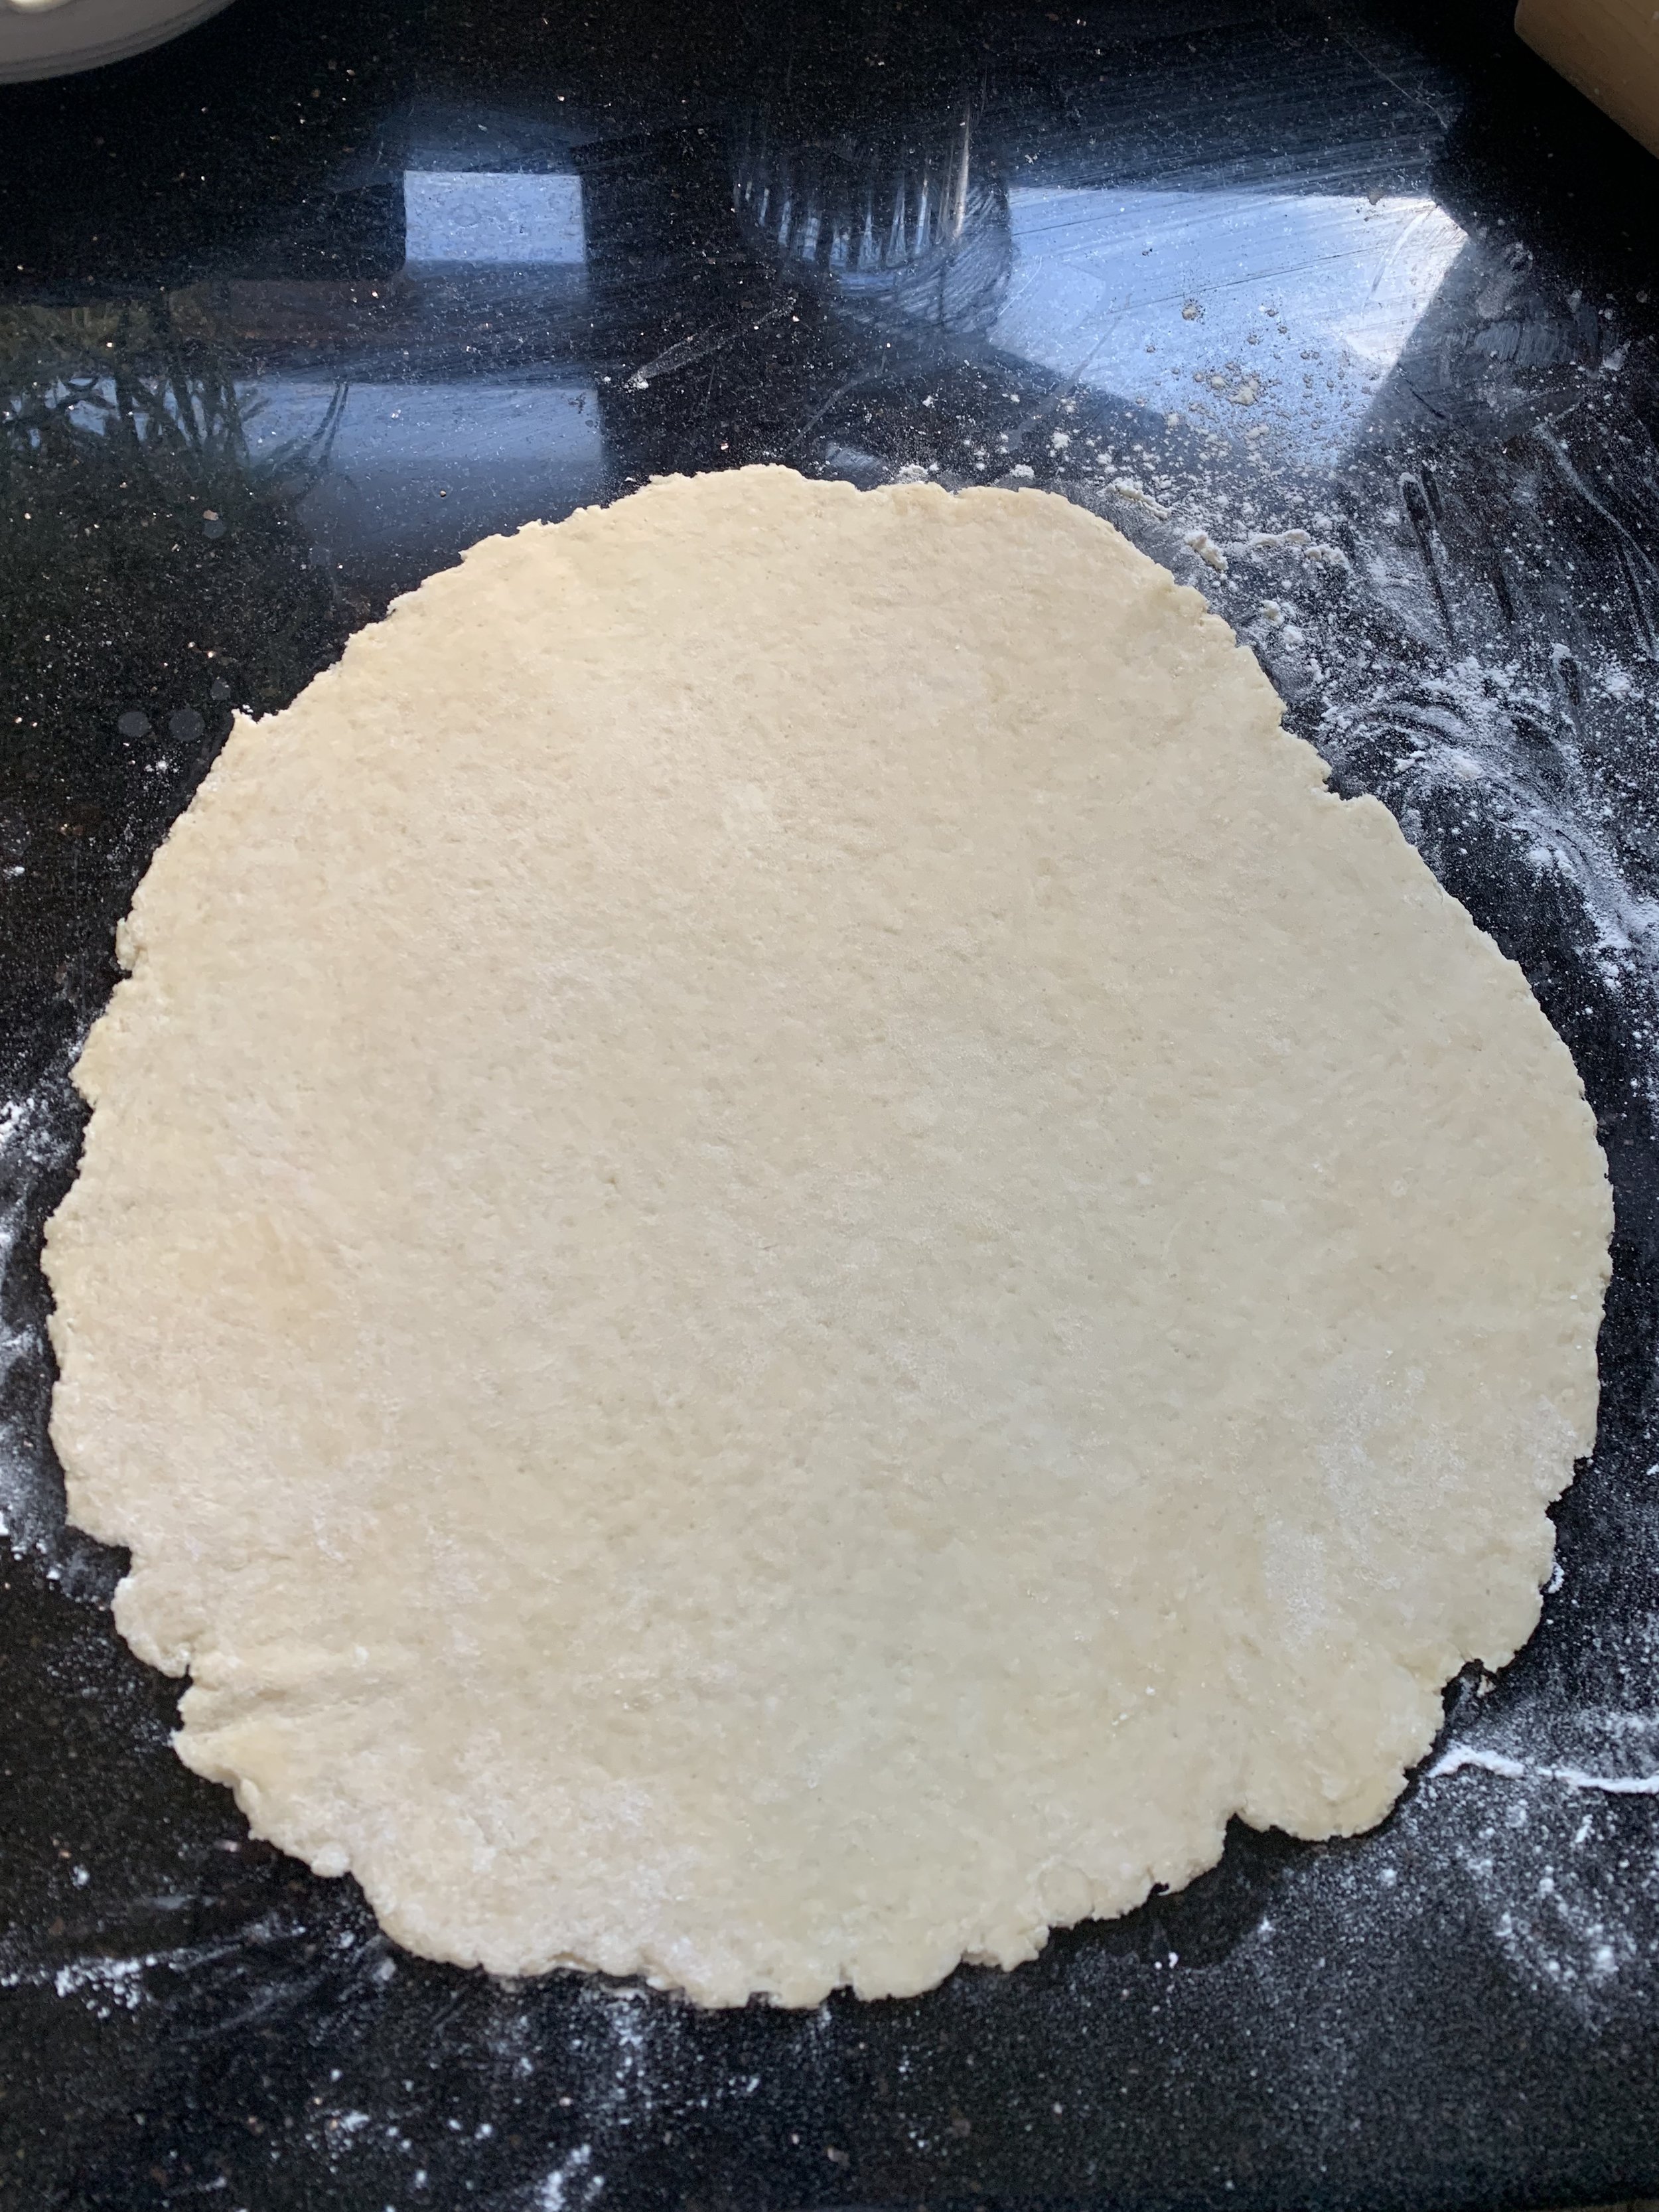
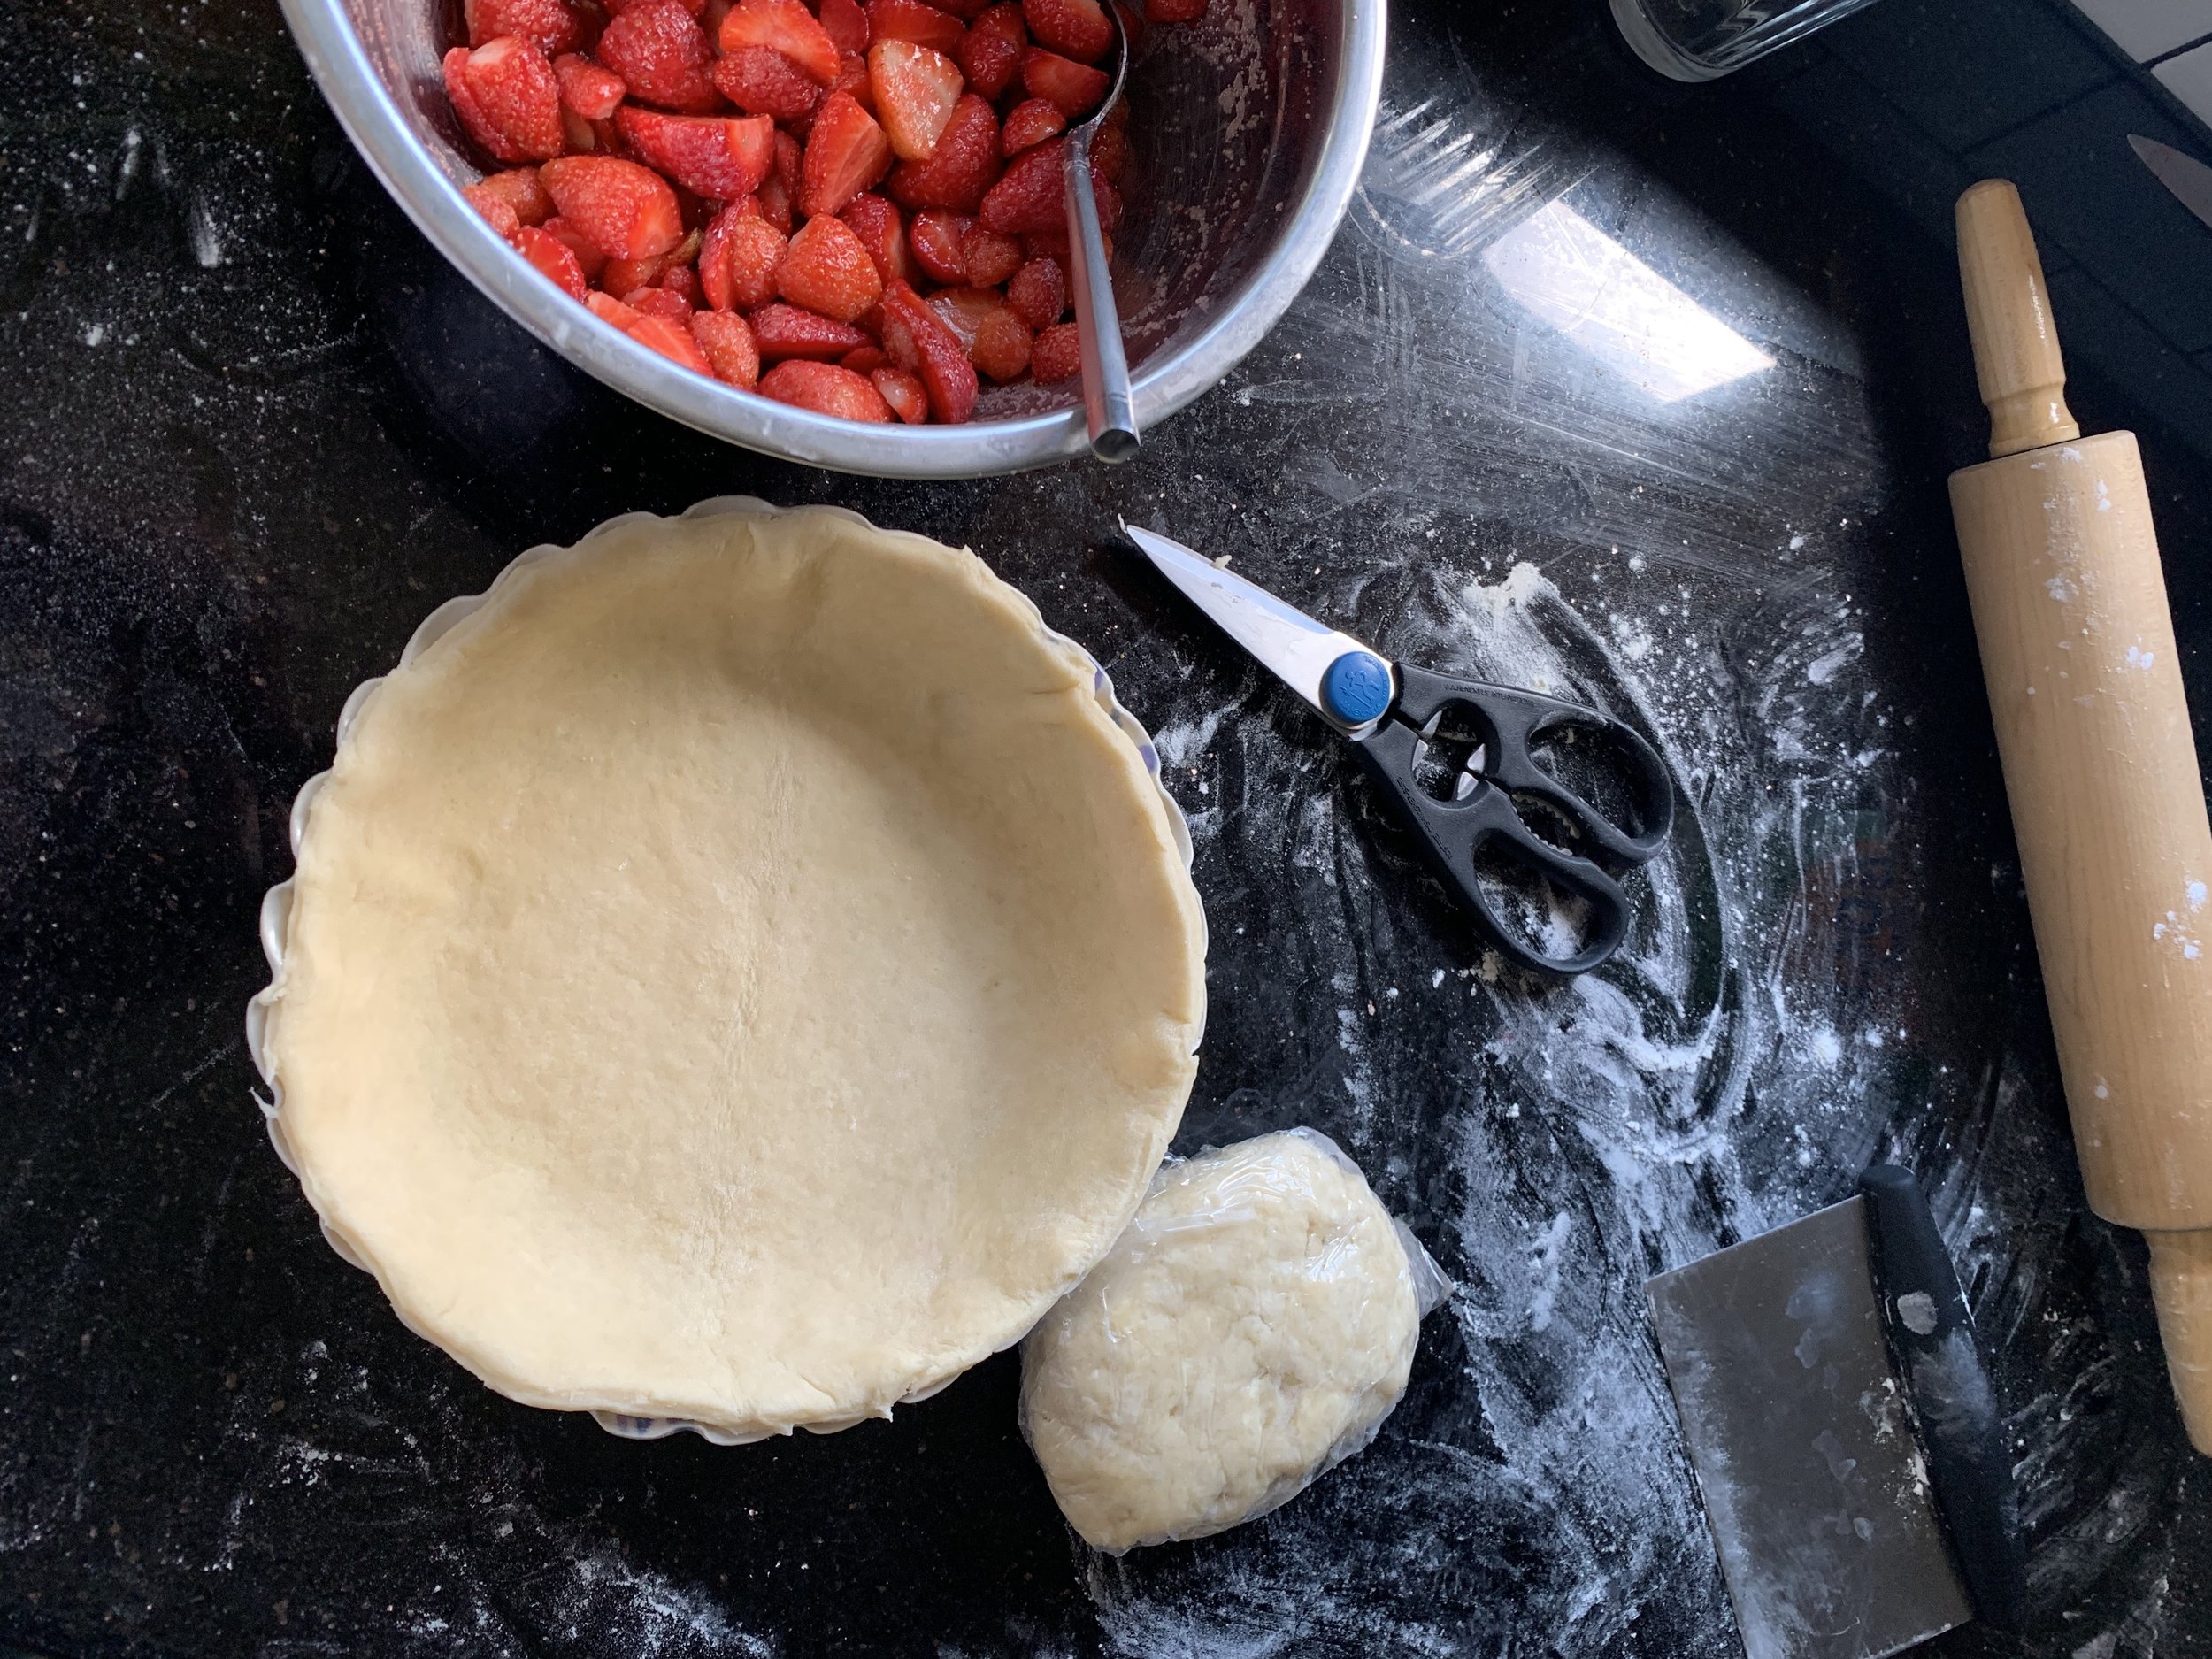
3) Preheat your oven to 325F. On a lightly floured surface, roll out one of the dough discs to about 1/8” thick, or to a diameter that will lay in your pie dish, and flop over the sides. Move it to the dish following the directions in the pie crust recipe. Trim the crust with a knife, or kitchen shears, such that it is flush with the rim of your dish. Form the scraps into a new small disc, wrap and chill.
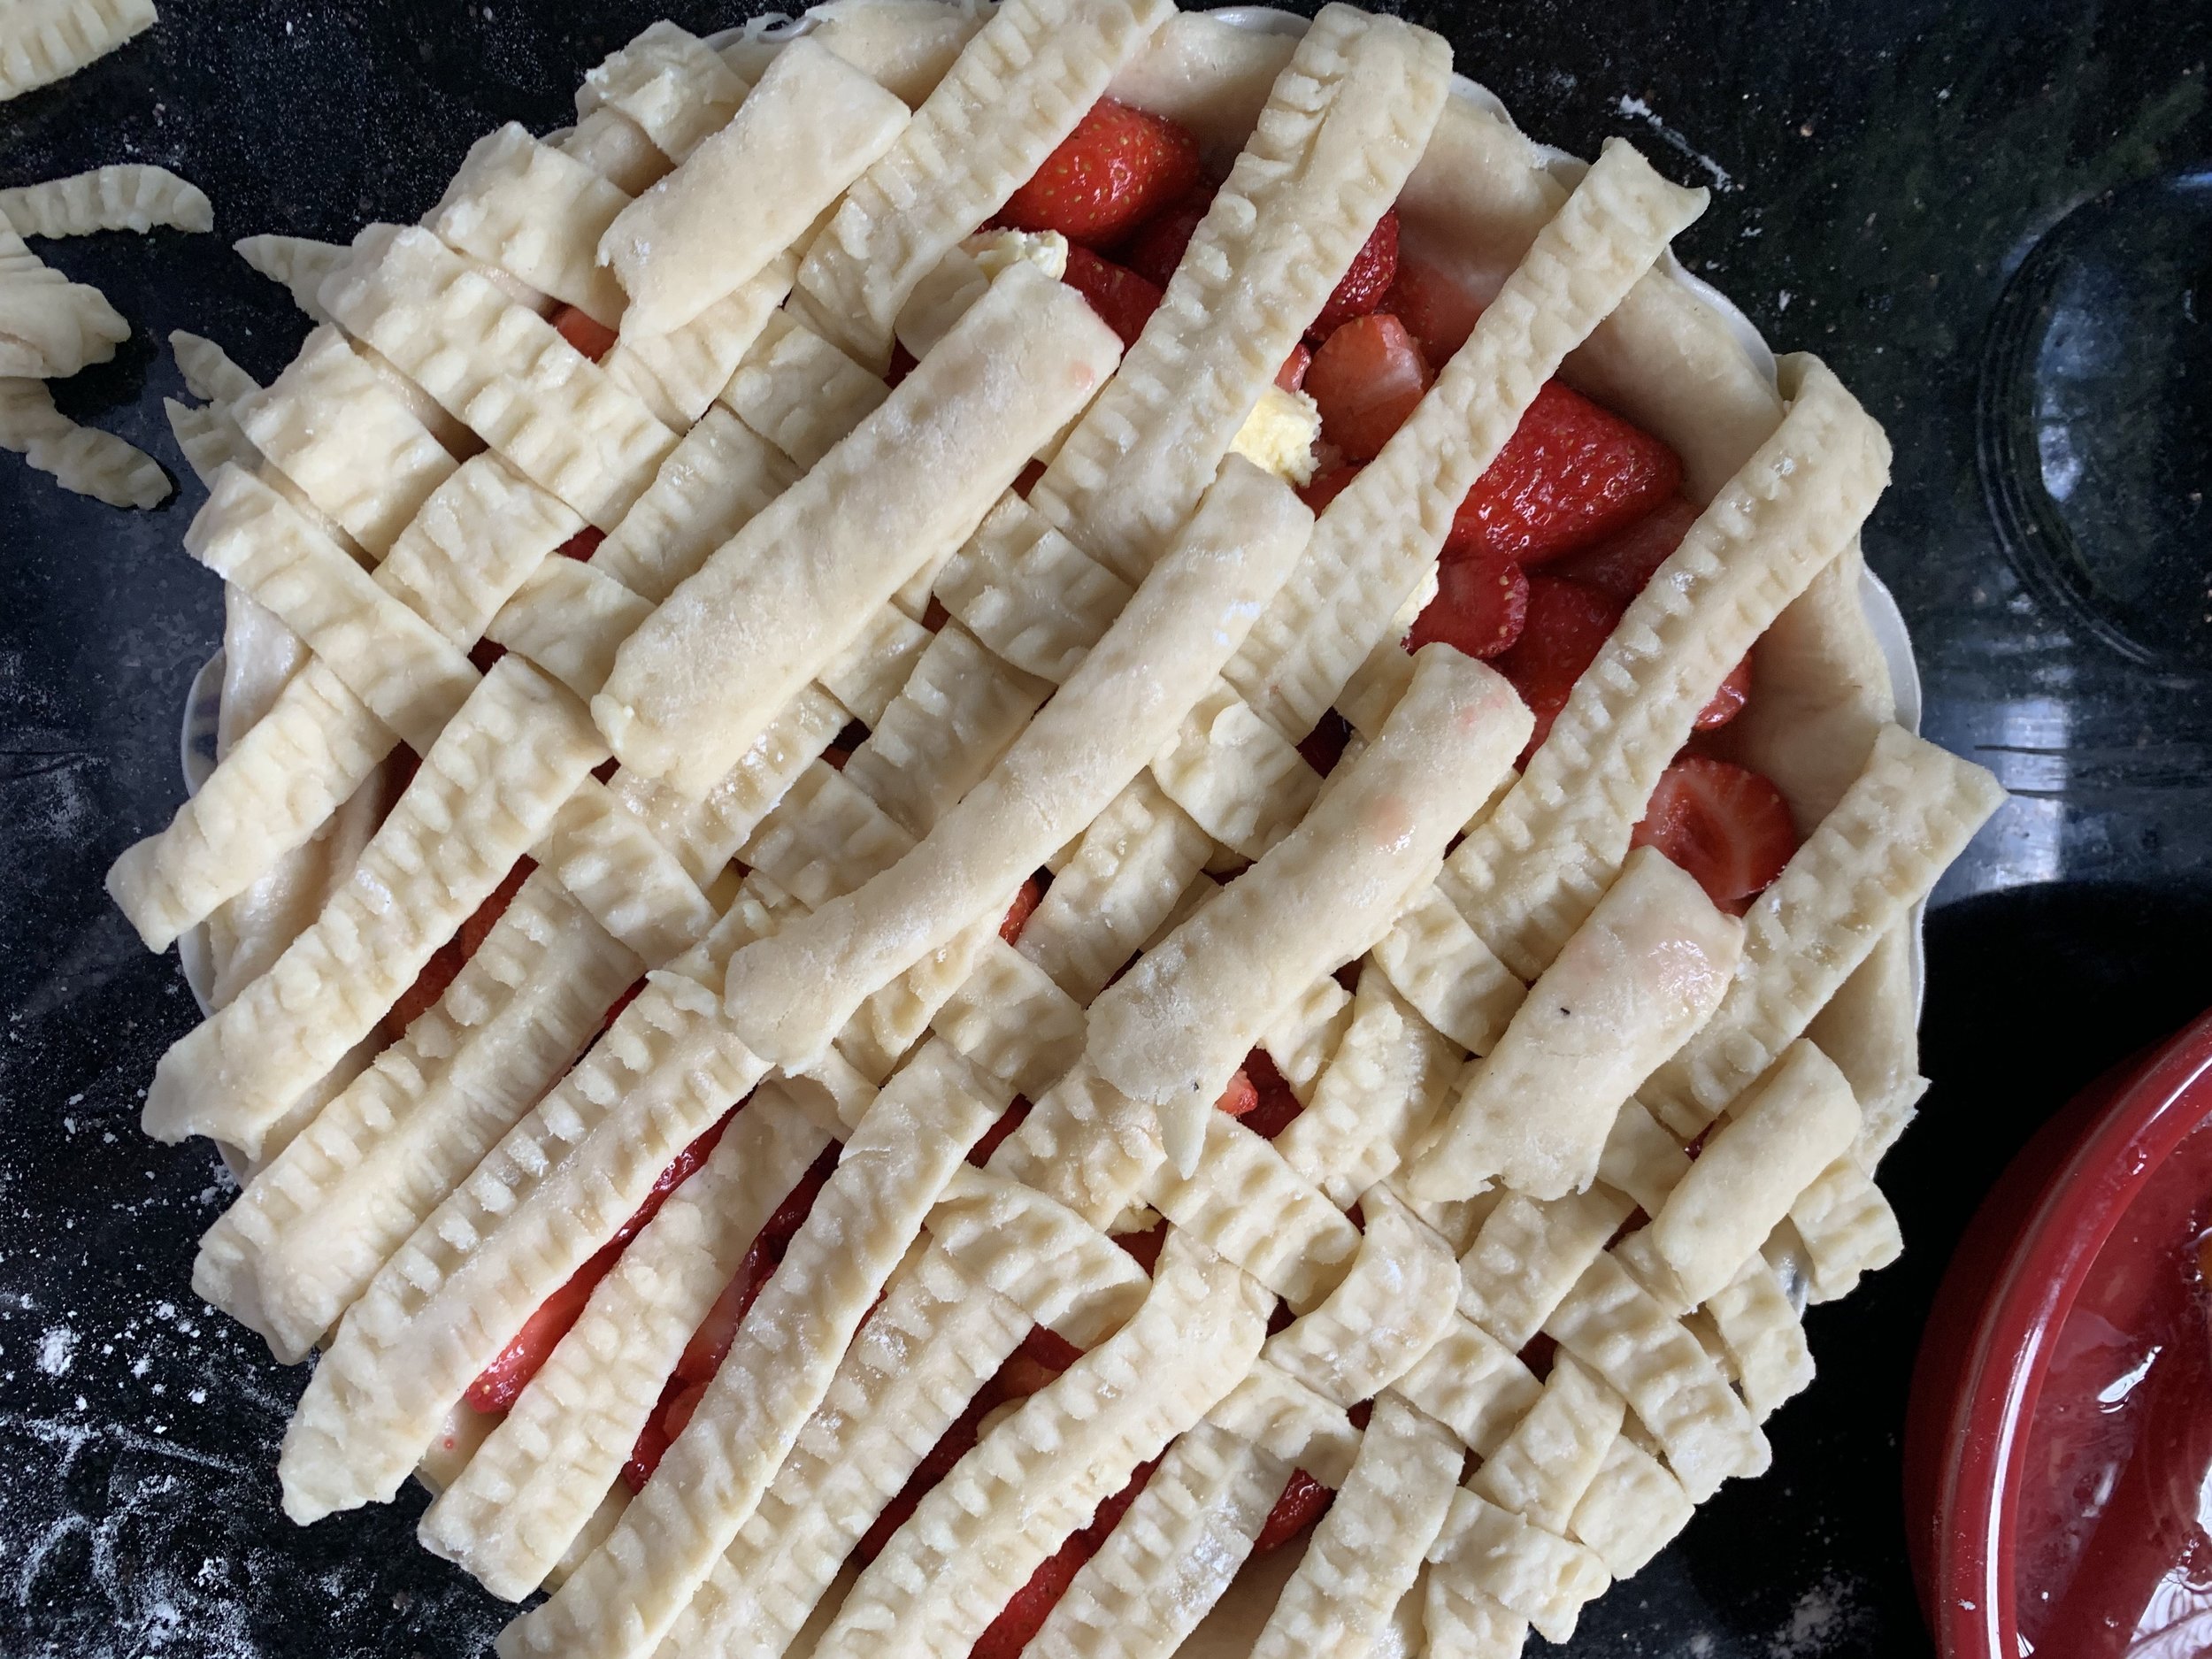
4) Pour the berry mixture into the bottom crust. Using the back of a spoon, lightly press the berries flat, so that your lace work will be nice and even. Dot the berries with pieces of softened butter.
5) Roll the second crust out to 1/8” thick. Slice the crust into 1/2’ strips using a pizza wheel, or a ravioli cutter, if you want to be extra fancy. Beat your egg white lightly with a little water and brush this egg wash around the edge of the crust in the pie dish. Starting with the shortest strips, lay them over the pie with about 1/8” spacing between them. Let the tails hang over the edge. we’ll trim them, later. Once the top is covered in one direction, fold every other strip back on itself, in half. Add a long strip perpendicular to the others. Unfold the previously folded strips, and fold back the others. Add another (slightly shorter) strip next to the first perpendicular one. Unfold, and repeat until you reach the edge. Spin the pie and do this on the other half. Once your basket weave is complete, trim all hanging crust flush with the edge of the dish. Form trimmings into a disc. Wrap and chill.
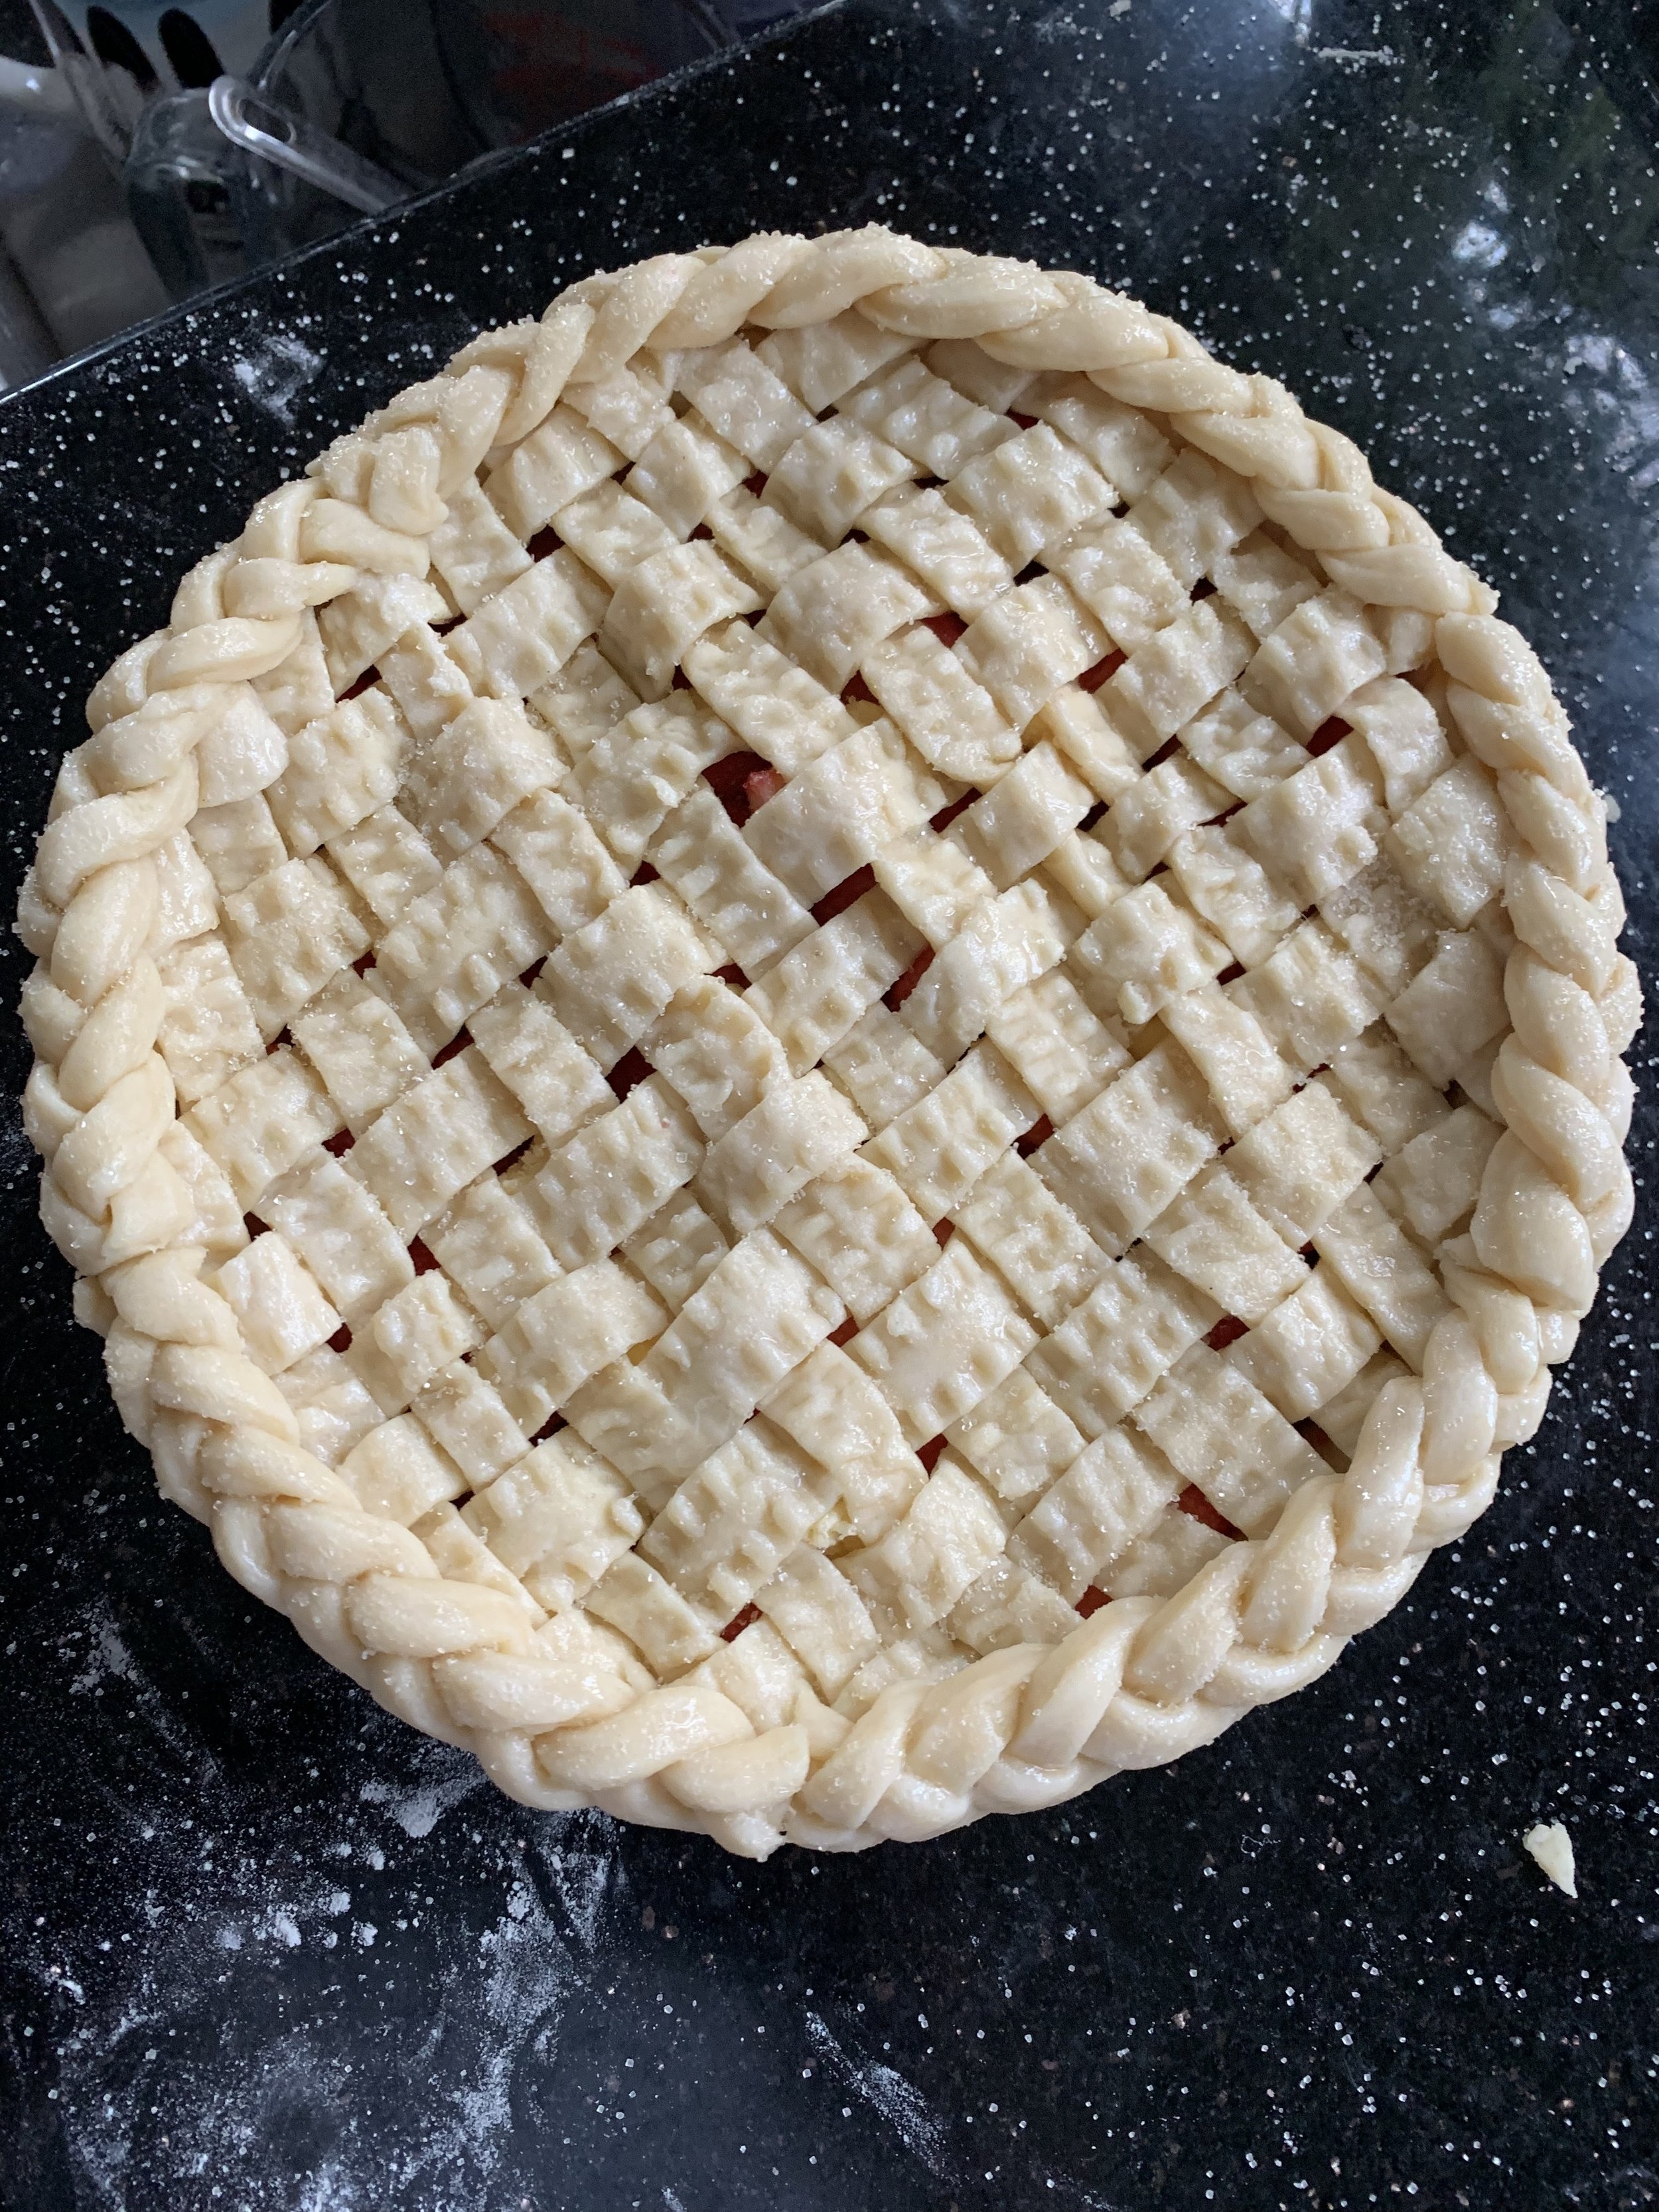
6) Roll out your first disc of trimmings, narrow and long. Slice this into 1/4” strips. Braid these, using a dough knife, or fork to squish the ends closed. It’s ok if they are short. Once those are done, roll and braid the last of the dough from the fridge. Brush the whole top of the pie with egg wash. Lay the braids around the edge, gently pressing them into the crust. Brush these with egg wash, and sprinkle the whole pie with granulated sugar.
7) Place a foil lined drip sheet on the bottom rack of the oven, and place the pie in the center of the middle rack. Bake for 45-60 minuets, or until the filling is thick, and bubbling through the top. Cool on a wire rack for as long as you can stand it. Serve with whipped cream.
The products below are Amazon Affiliate links. If you buy through them, I receive a small commission with no added cost to you.