“Breath properly, stay curious, and always eat Your beets!”
A Good Year for Beets
I find the golden beet to be a bit trickier to grow than other varieties. I have good luck with the classic Detroit dark red, but the golden ones seem a bit more fickle. This year, however, they did great. I sowed in early May, here in zone 5b. By mid July, we were eating nice sized beets, and they had very little pest pressure. This is thanks to an adjacent crop of Swiss chard, in part. The chard acted as a trap crop for the flea beetles and cabbage moths that also like beets. They seem to like chard, more. I have another planting of chard, in the hoop house, so I was happy to let the nibblers have at the garden chard. We have put up a few gallons of various pickled beets in golden and red varieties, and have a few more gallons in cold storage, for winter. I have a fall sowing of cylindra beets, just sprouting now, also.
Canning Thoughts
A fellow homesteader once said of canning, “it’s so hard to make the time!” I suggested that she make it more ritualistic, like taking a bath when the kids are off for a slumber party at the neighbors. Because I do so much canning, I have systematic organization of my jars, lids, rings, and tools. I keep wide mouth rings in one gallon zip bag, and lids in another. There are separate bags for regular mouth gear. I try to sort the jars by type, as well, so that if I need a dozen regular pints, they are already clean, and stacked together on the shelf. Before I can, I wipe down my work area with a vinegar solution. I steam my tools in the canner as I sterilize the jars either in the dishwasher (mine has a setting for this) or in the oven (250F for 15 min). I plan for a time I’m least likely to be interrupted, and get to work. By keeping everything organized, I find I can easily knock out a batch of something in a couple of hours, without scrambling around for things, or wondering if I have what I need.
Re-using Lids
The manufacturers of canning jars insist that one use new lids, every time. I think that is like the manufacturer of socks suggesting that they are single use. If I am making something I might sell, or give to friends, I use new lids, and the shiniest rings. If it is intended for home use, however, I have no qualms about reusing lids that are in good shape. As long as the seal looks good, and the lid is not bent, they work just fine for multiple uses. The nice thing is that you know if they don’t seal, because the button doesn’t suck down, as they cool. The ones that fail to seal just go into the fridge for sooner use. Lids I use for pressure canned things like bone broth, I do not re-use. I keep this straight by writing on them with permanent marker. I have tried reusable lids, but find them to have too high of a failure rate, so I stick with the metal ones. I do not recommend the lids that come with the generic brand of jar that can be found at a certain blue big box store. They have gold bands and lids. The jars and bands are fine, but the lids do not seal, over half the time. You can still save money buying this kind, but use Ball lids.
Mason Jars are Currency
Living in association with homesteaders changes what you value. To us, a case of mason jars is more legitimate currency than the Illuminati trading cards know as Federal Reserve Notes, or dollars. A mason jar retains its value for generations, and is not taxed through inflation, or any other means, after its initial purchase. Everyone has a use for them, and some rely on them for food preservation. They are a standard unit of measure, and double as glassware for country style dining. I had a farmer’s market customer once ask me if I could use some mason jars, and I said, “you bet!” I took down her info, and headed to her place, the following day. I filled the bed of my truck, twice, with cases of jars. I paid her about ten cents a piece. These will serve as the foundation of my throne of cheese, prosciutto, and ammo, from which I shall rule, during the zombie apocalypse.
Cooking Seasonally
This recipe was born of what was popping in the garden. Seasonal cooking really elevates when we allow the ingredients that ripen together to drive the menu. The full video of the preparation of these beets is embedded, above. If you like these video recipes, and the other content on my YouTube channel, you may subscribe and click the bell for notification every time a new one is published. I’m trying to show what goes on creatively, in my mind, as I cook. Rather than planning and testing recipes before the camera rolls, I’m sharing how I actually create. My thinking is that this may help aspiring cooks to look at things from a more elemental and technique-based, rather than a replication, perspective. Feel free to comment and ask questions here, on YouTube, or on Instagram!
Honey Pickled Golden Beets with Herb Blossoms
Ingredients:
2 quarts Golden beets, boiled, peeled, and sliced
2 onions, julienne
1 cup herb blossoms (I used coriander and anise, but dill, mint, basil, etc. would all be great.
2 Tablespoons chopped tarragon
2 ½ cups apple cider vinegar
2 cups filtered water
1 ½ cups honey
2 Tablespoons non-iodized salt (sea, kosher, etc.)
6 whole cayenne peppers, or 1 tsp. red pepper flakes
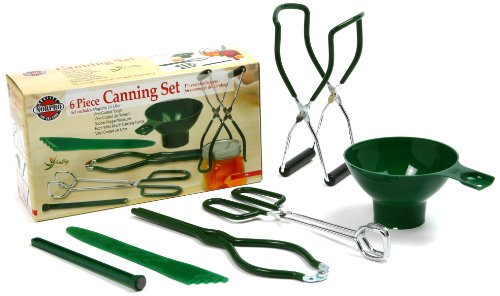
Gear:
6 washed and sterilized pint mason jars, lids and bands
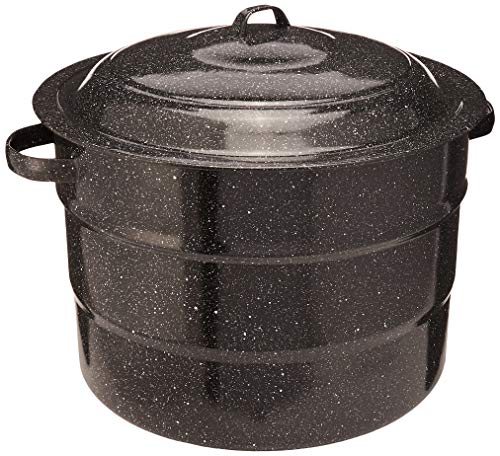
Water bath canner, or large pot (link to buy one, below)
Jar tongs,
Canning funnel
Directions:
1. Wash and trim beets and boil them in salted water until they are knife tender, and peels slip easily.
2. Peel and slice beats. Slice onions. Add one pepper to each jar (if using flakes, add to brine).
3. Place vinegar, water, honey, and salt in a pot, and bring to a simmer.
4. Fill the canner half full with water and a splash of distilled vinegar (prevents hard water deposits on jars) and set to boil.
5. Toss the beets, onions, herbs, and blossoms together, and fill the jars to ½” below the top.
6. Place jar lids in a bowl, and cover with boiling water to soften seals.
7. Pour hot brine into the jars, leaving that 1/2” of head space.
8. Wipe rims with a wet paper towel, set on lids and secure, finger tight, with bands.
9. Place jars into boiling canner. Be sure there is at least half an inch of water above the top of the jars.
10. When the water returns to a boil, process for 10 min (sea level) 15 min (above 3,000’) or 20 min (above 5,000’).
11. Remove to a towel and allow to cool completely before moving.
The products below are Amazon Affiliate links. If you buy through them, I receive a small commission with no added cost to you.